

Why Build Your Own Home Battery Backup System?
If you’re serious about energy independence, building your own home battery backup system is one of the
Assessing Your Power Needs for a Home Battery Backup System
Before you buy a single battery, you need to know how much power you actually use and how long you want backup to last. This is what makes or breaks any DIY home battery backup.
Step 1: Decide Essentials vs. Whole-House Backup
First, be clear about your goal:
- Essential load backup (most common):
- Fridge / freezer
- Wi-Fi router + modem
- A few lights
- Phone / laptop charging
- Maybe a small fan or one room AC (high draw – check carefully)
- Whole-house battery backup:
- Everything above plus: HVAC, electric stove, dishwasher, washing machine, well pump, etc.
- Needs a much larger battery inverter setup and budget.
If you mostly face short power cuts, I strongly recommend starting with essential load backup and building a scalable battery bank you can expand later.
Step 2: Calculate Energy Consumption (kWh)
Use this simple method:
- List each device you want to back up.
- Note its watt rating (W) from the label.
- Estimate hours per day you’ll run it during an outage.
- Use this formula:
Energy (Wh) = Watts × Hours
Total daily energy (kWh) = Sum of all Wh ÷ 1000
Example (essential loads only):
| Device | Watts | Hours/day | Energy (Wh) |
|---|---|---|---|
| Fridge | 150 | 8 | 1,200 |
| Wi-Fi + router | 25 | 10 | 250 |
| 4 LED lights | 40 | 5 | 200 |
| Laptop + phone | 80 | 3 | 240 |
| Fan | 60 | 6 | 360 |
| Total | 2,250 Wh (≈ 2.25 kWh) |
So to cover one day of essentials, you’d want at least 2.25 kWh usable capacity. To be safe, size your home energy storage system about 20–30% higher than your calculation.
Step 3: Estimate Runtime from Battery Size
To go the other way (battery → runtime), use:
Runtime (hours) = Battery capacity (Wh) × usable % ÷ load (W)
- A 5 kWh LiFePO4 home battery (about 4.5 kWh usable)
- Running a 500 W essential load
Runtime ≈ 4,500 Wh ÷ 500 W = 9 hours
If you want overnight backup for essentials (say 8–12 hours), aim for 5–10 kWh. For whole-house backup, most homes end up in the 10–20 kWh range or higher, similar to a modular stackable power energy storage system like a 2–7 kW / 16.8 kWh residential energy storage unit.
Step 4: Factor in Peak Power (Watts), Not Just Energy (kWh)
Batteries store energy (kWh), but your inverter must handle instant power (W):
- Fridges, pumps, and ACs have surge power (2–3× normal watts for a few seconds).
- Make sure your hybrid inverter system can handle:
- Continuous power = sum of devices running at once
- Surge power = highest starting load
If you misjudge this, your system will shut down even if the battery isn’t empty.
Once you know your daily kWh needs and peak watts, you can size a DIY home battery backup correctly and decide if you want a small essential backup system or a more serious whole-house battery backup.
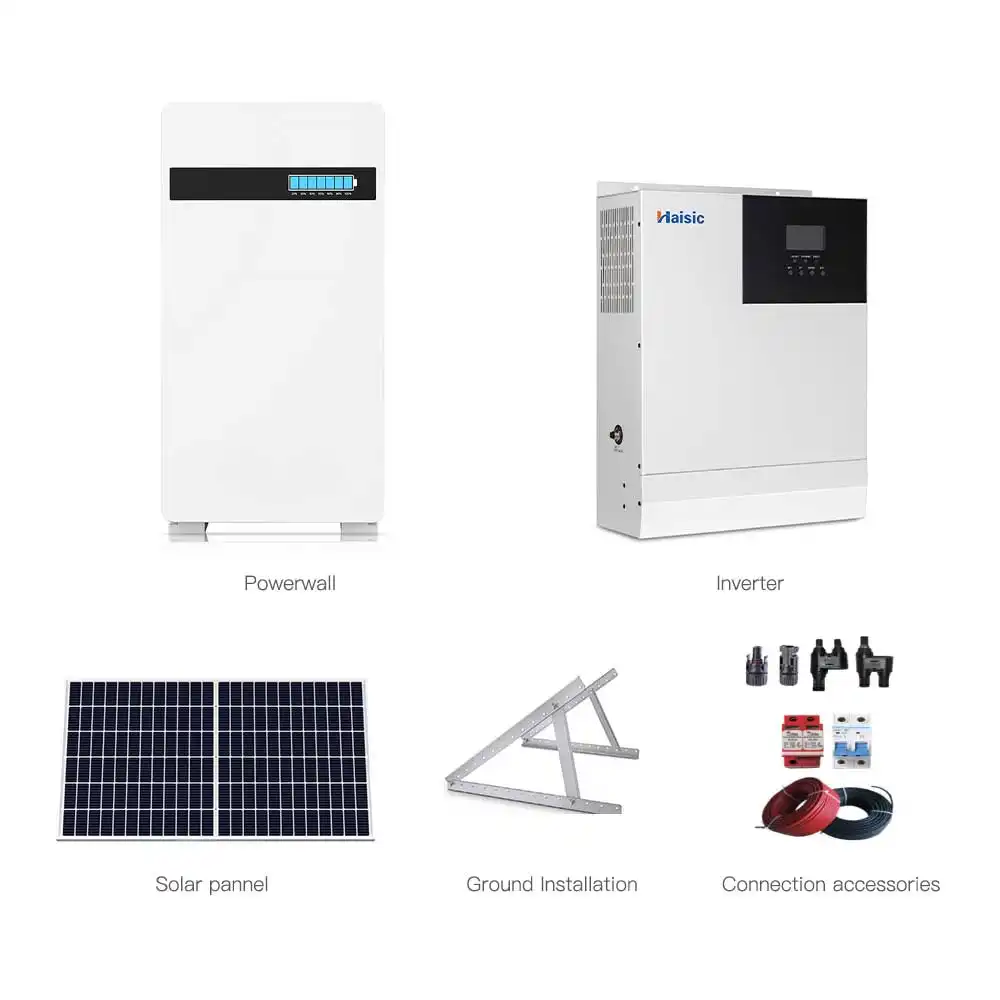
Key Components of a Home Battery Backup System
When I build a DIY home battery backup system, I break it down into a few core parts. Once you understand these, the whole “how to build a home battery backup system” thing becomes much more manageable.
1. Batteries (The Energy Storage)
This is the heart of your home energy storage system.
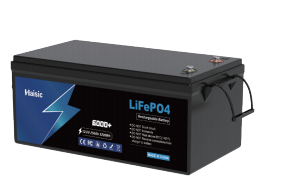
- LiFePO4 (Lithium iron phosphate) batteries – Best choice for most modern DIY home battery backup setups:
- Long lifespan (up to 6,000+ cycles)
- Safer chemistry, lower fire risk
- Higher usable capacity vs lead-acid
- Lead-acid (AGM, gel, flooded) – Cheaper upfront, but:
- Heavier, bulkier
- Shorter life, less usable capacity
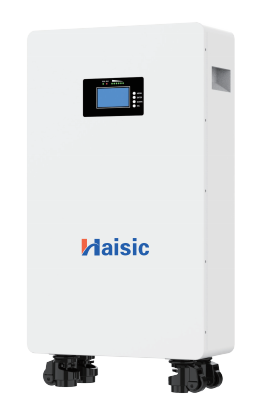
- For a clean, scalable solution, I often recommend starting with a dedicated home lithium battery storage unit like the modular systems shown in this residential lithium battery storage lineup.
2. Inverter (DC to AC Power)
Your battery stores DC power, but your house runs on AC power.
- Battery inverter setup / hybrid inverter system:
- Converts DC from the battery to 120/240V AC
- Some hybrid models can also handle solar input and grid charging
- Key specs to watch:
- Continuous watts (e.g., 3 kW, 5 kW)
- Surge watts (for starting fridges, pumps, etc.)
- 120V only vs 120/240V for whole house battery backup
3. Charge Controller (If Using Solar)
If you add solar to your battery backup system:
- Solar charge controller sits between panels and batteries
- Two main types:
- MPPT – more efficient, better for larger or higher-voltage solar arrays
- PWM – basic, cheaper, better for small systems
- Protects batteries from overcharging and manages solar charging properly
4. Transfer Switch (Safe Connection to Your Home)
To safely power your home circuits during an outage, you need a transfer switch.
- Manual transfer switch:
- You flip it during a power outage
- Safely isolates your system from the grid (critical for safety and code)
- Automatic transfer switch (ATS):
- Detects outages and switches over automatically
- More convenient for whole-home backup
- Used to feed essential load backup circuits (fridge, lights, outlets, internet, gas boiler, etc.)
5. Wiring, Fuses & Protection
This is where a lot of DIY builds go wrong, so I keep it strict:
- Proper copper cables sized for current and distance (oversize rather than undersize)
- DC breakers / fuses between:
- Battery and inverter
- Solar and charge controller
- AC breakers on the output side to your subpanel or transfer switch
- Solid grounding and bonding for safety
6. Optional Add‑Ons
To make your residential energy storage system easier to live with:
- Battery management system (BMS) – Built-in on most LiFePO4 packs; protects against overcharge, over-discharge, and short circuits.
- Monitoring & touchscreen:
- Lets you see battery SOC, power in/out, and historical data
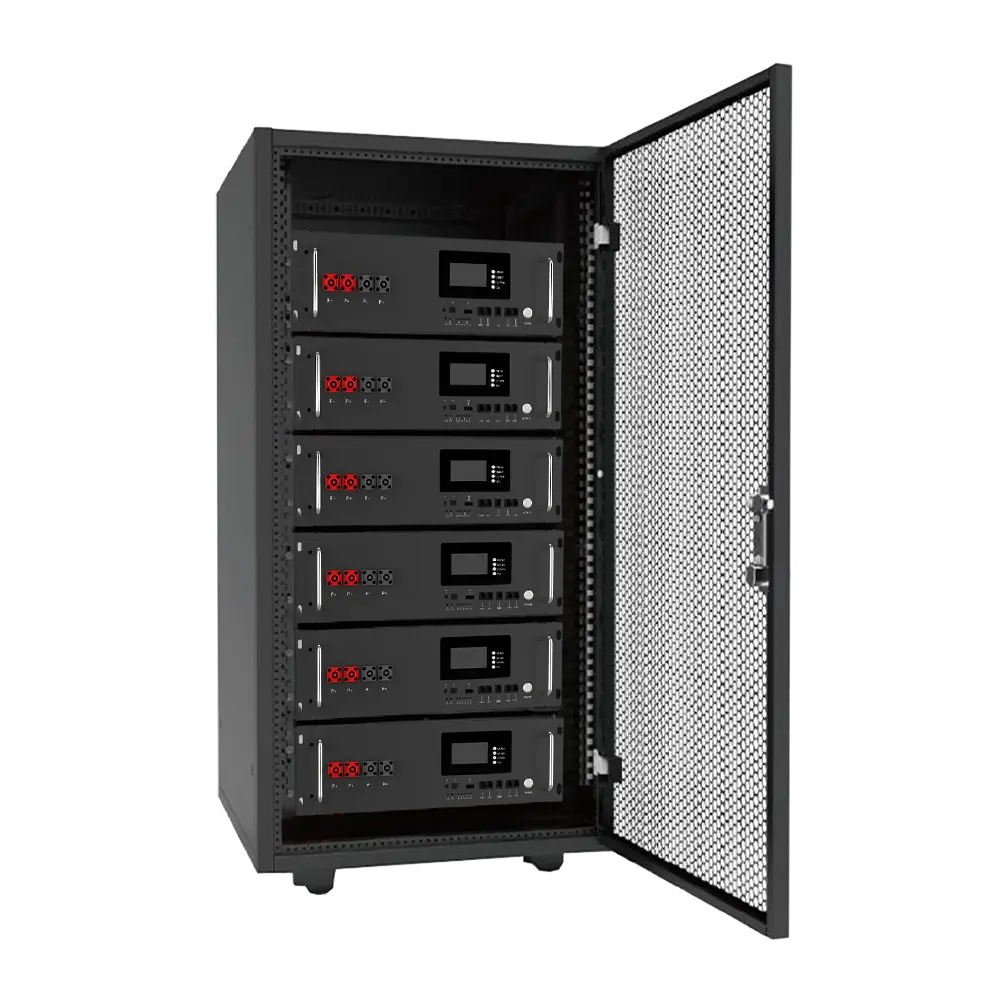
- Many high-end packs include a smart display, like this touchscreen 20.48 kWh home energy storage battery system.
- Smart controls / Wi-Fi app – For checking your system remotely
- Enclosures / racks – Keep your battery bank neat, ventilated, and protected
Get these components right and you’ve got a solid foundation for a scalable DIY home battery backup, whether you’re aiming for a small essential-circuit setup or a bigger off-grid power solution.
Choosing the Right Battery Technology for a Home Battery Backup System

For a DIY home battery backup system, your biggest decision is Lithium-ion (LiFePO4) vs lead-acid. I’ll keep it simple and practical.
Lithium Iron Phosphate (LiFePO4) – My Go-To Choice
For most home energy storage systems, LiFePO4 home batteries are the best long-term play:
- Long life: 3,000–6,000+ cycles (10+ years with normal use)
- Deep discharge: Safely use 80–90% of capacity daily
- High efficiency: 90%+ round-trip efficiency – less wasted energy
- Compact & lightweight: Smaller footprint for whole house battery backup
- Safer chemistry: Very stable and much lower fire risk than older lithium types
LiFePO4 costs more upfront but usually wins on total cost per kWh over the battery’s life. If you’re pairing with solar battery backup, LiFePO4 is almost always the smarter choice. If you’re still comparing options, it’s worth checking how different chemistries stack up in terms of lifespan and cost in a solar battery storage cost breakdown.
Lead-Acid Batteries – When They Still Make Sense
Flooded, AGM, and gel lead-acid can work for low-budget, low-usage backup systems:
- Cheaper upfront, easy to source
- Shorter life: often 500–1,000 cycles
- You should only use 40–50% of rated capacity to avoid killing them early
- Heavier and bulkier for the same stored energy
Use lead-acid only if:
- You just need occasional outage backup
- You want lowest initial cost and accept more maintenance and earlier replacement
How to Size Your Home Battery Backup System
Once you know your chemistry, size the bank for your essential load backup or whole house needs:
Add up daily energy use for essentials
- Example: Router, lights, fridge, a few outlets → maybe 3–6 kWh/day
Decide how many days of backup you want
- 1–2 days is typical for residential energy storage
Adjust for usable capacity
- LiFePO4: divide by 0.9 (90% usable)
- Lead-acid: divide by 0.5 (50% usable)
Example sizing (LiFePO4, 1-day backup):
- Need 5 kWh of backup → 5 ÷ 0.9 ≈ 5.6 kWh battery bank
If you’re not sure how big a system you actually need, this kind of sizing is exactly what I walk through when people ask “do I even need battery storage at home?”, which is covered well in this guide on whether home battery storage is necessary.
Start with a scalable battery bank and a compatible battery inverter setup so you can expand later instead of overspending on day one.
Step-by-step: how to build a home battery backup system
Here’s a simple, practical flow you can follow to build a DIY home battery backup system that’s safe and actually works when the lights go out.
1. Plan the system layout
Before you buy anything, map out:
- What you want to power: essentials (fridge, Wi‑Fi, lights) or near whole-house.
- Where everything goes: battery bank, inverter, breakers, transfer switch.
- AC vs. DC distances: keep batteries, inverter, and main panel in the same area to avoid long cable runs.
- Ventilation and access: cool, dry, no direct sun, easy to reach for service.
If you don’t want to build from scratch, an all‑in‑one unit like a 10 kW off‑grid solar power system or a touchscreen home energy storage system can simplify most of this planning.
2. Assemble and mount the main hardware
Set up the core of your home energy storage system:
- Battery bank: mount LiFePO₄ batteries or pre‑built packs on a solid surface or rack.
- Inverter/charger or hybrid inverter: bolt it to a wall or board per the manual.
- Disconnects and breakers: add DC and AC disconnects close to the battery and inverter.
- Busbars & fuses: use proper busbars and correctly sized fuses for clean, safe wiring.
Keep everything labeled: battery +/–, inverter in/out, PV input, critical loads, etc.
3. Wire the battery inverter setup
Do this step carefully, with the gear powered down:
- Battery to inverter (DC side):
- Use thick, correctly rated cables.
- Connect battery negative, then positive through a DC breaker/fuse.
- Follow the recommended torque settings and polarity.
- Inverter to critical loads (AC side):
- Run AC cable from inverter output to a critical loads subpanel or the transfer switch.
- Ground everything: battery negative, inverter chassis, and panel grounding must follow local code.
If you’re running a hybrid inverter system with solar, also wire PV input to the MPPT or built‑in solar charger.
4. Install the transfer switch or critical loads panel
You need a safe way to separate grid power and backup power:
- Manual transfer switch: simple, cheaper, good for basic essential load backup.
- Automatic transfer switch (ATS): seamless switching when grid fails, ideal for a whole house battery backup feel.
- Critical loads subpanel: move only essential circuits (fridge, router, some lights, maybe a mini-split) into this panel.
This is the one step where I strongly recommend hiring a licensed electrician, especially for transfer switch installation at the main service panel.
5. Configure, test, and tune
Before trusting the system:
- Initial checks:
- Verify voltage and polarity at the battery and inverter.
- Confirm all breakers, disconnects, and grounds are correct.
- Configure the inverter:
- Battery chemistry (LiFePO₄ vs lead-acid).
- Charge and discharge limits.
- Low‑voltage cut‑off and grid priority settings.
- Test under load:
- Turn off the grid via the transfer switch.
- Power up essential loads only.
- Check inverter load percentage, battery current, and temperature.
Run a full “simulated outage” to confirm actual runtime versus your estimates.
6. Basic troubleshooting checklist
If something doesn’t work as expected:
- System won’t start: check main DC breaker, battery BMS on/off, and inverter power button.
- Inverter shuts off quickly: battery settings wrong, battery too small, or low‑voltage cutoff set too high.
- GFCI or breakers trip: mis‑wired neutral/ground, or mixing neutral from grid and backup on the same circuit.
- Poor runtime: undersized battery bank, inefficient loads (old fridge, space heaters), or loads not truly “essential.”
Tackle one variable at a time: verify wiring, then settings, then loads. If anything on the AC side seems off or unsafe, get a professional to inspect it immediately.
Integrating Solar for a Hybrid Home Battery Backup System
If you’re serious about backup power, pairing your DIY home battery backup with solar is the move. A hybrid setup gives you backup power, lower bills, and less grid dependence without going fully off‑grid.
Key Benefits of a Solar Hybrid System
- Charge during outages – Your battery isn’t a one‑time use; panels keep refilling it.
- Lower power bills – Use solar + battery to cover daytime loads and evening peaks.
- Less generator noise and fuel – Silent, clean power vs. diesel or gasoline.
- Scalable – Start small, add panels and batteries as your budget grows.
What Solar Panels Work Best?
For a home energy storage system, stick with common, high‑efficiency options:
| Type | Pros | Notes |
|---|---|---|
| Mono PERC panels | Highest efficiency, good for small roofs | Most common for homes |
| Half‑cut mono panels | Better shade tolerance, higher output | Great in mixed-shade roofs |
| Tier-1 brands | Reliable performance & warranty | Worth paying a bit more |
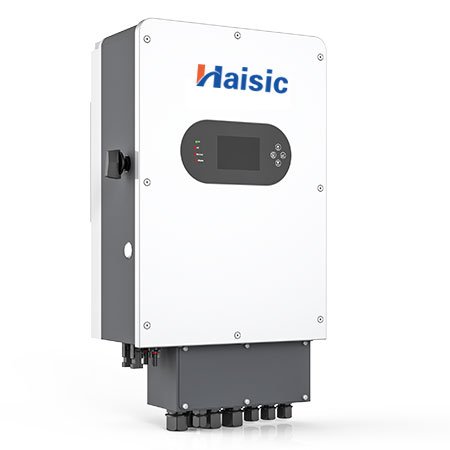
Match your solar array with a hybrid inverter that can handle both PV and battery. For example, a compact single‑phase hybrid inverter with MPPT like the 3–6 kW hybrid solar inverter with MPPT controller is ideal for most residential solar battery backup builds.
Sizing Solar for Your Battery Backup
Think in terms of daily energy and recharge time:
- Daily use (kWh)
- Add up the kWh you want to cover per day (fridge, lights, Wi‑Fi, maybe AC or heat pump).
- Battery size (kWh)
- Typical DIY LiFePO4 home battery: 5–20 kWh.
- Solar array size (kW)
- Rule of thumb:
- Mild use / backup only: solar (kW) ≈ 0.5–0.75 × battery (kWh)
- Daily cycling / partial off‑grid: solar (kW) ≈ battery (kWh) or more
- Rule of thumb:
Example:
- 10 kWh LiFePO4 battery
- 3–5 kW solar array
- On a good sunny day, you can fully recharge from ~20% to 100%.
Why LiFePO4 Shines in Solar Battery Backup
Lithium iron phosphate (LiFePO4) is almost made for hybrid solar systems:
- High cycle life – 3,000–6,000+ cycles, perfect for daily solar charging.
- Deeper usable capacity – Safely use ~80–90% of capacity every day.
- Fast charging – Takes advantage of full sun hours.
- Stable performance – Better in wider temperature ranges vs. lead‑acid.
Pairing LiFePO4 storage with a hybrid inverter system (DC-coupled or AC-coupled) gives you a clean, efficient solar battery backup that can power essential loads or even operate as a whole house battery backup when sized correctly.
Hybrid Inverter: The Core of the Setup
Your inverter is the “brain” of the hybrid system. It must:
- Accept DC from solar panels
- Manage battery charging/discharging
- Output AC to your home
- Seamlessly switch during power outages
For residential builds that may expand later, consider a weather‑resistant hybrid inverter range like the IP65‑rated 6–12 kW hybrid solar inverters for stronger whole‑home or multi‑load setups, such as the 6–12 kW IP65 hybrid solar inverter series.
Set it up once, and your system automatically decides when to use solar, when to charge the battery, and when to pull from the grid.
Safety Considerations and Best Practices for a Home Battery Backup System
When you build a DIY home battery backup or any home energy storage system, safety isn’t optional—it’s the whole game. Here’s how I handle it and what I recommend you never skip.
1. Electrical safety: don’t guess
Working with 48–51.2V and higher DC plus 120/240V AC can be deadly.
- Shut off main power before working on any panel or transfer switch installation
- Use the right wire gauge, fuses, and breakers sized to your inverter and battery bank
- Always ground the inverter, battery rack, and metal enclosures
- Keep DC and AC wiring clearly separated and properly labeled
- Never overload circuits – design for continuous loads at 80% of rating
If you’re building a higher-voltage battery bank (like a stacked 51.2V LiFePO4 home battery), use proper insulated tools and PPE.
2. Battery safety: LiFePO4 vs lead‑acid
Both LiFePO4 home battery packs and lead-acid can be safe if treated right, but they behave differently:
LiFePO4 (Lithium iron phosphate)
- Much more stable, low fire risk, built‑in BMS protection
- No off‑gassing; good for indoor installations
- Still: avoid crushing, puncturing, or shorting terminals
- Keep away from direct heat and flammable materials
For larger systems, I prefer modular, rack‑mount options like a 51.2V 100Ah LiFePO4 battery module that’s purpose‑built for residential energy storage.
Lead‑acid (AGM/gel/flooded)
- Must be ventilated to avoid hydrogen gas buildup
- Never charge in sealed boxes or small closed closets
- Keep upright and protected from tipping and spills
3. Ventilation, spacing, and environment
- Install in a cool, dry, non‑flammable area (no laundry steam, no fuel storage nearby)
- Leave clearance around batteries and inverters for cooling and maintenance
- Avoid direct sun and extreme heat – high temps kill battery life and can create hazards
4. Permits, codes, and inspections
Most regions treat a home battery backup like any other permanent electrical upgrade:
- Check local electrical code and building rules before buying hardware
- Many areas require a permit and inspection for transfer switches and hard‑wired inverters
- If you plan to tie into the main panel or future solar, make sure everything is code‑compliant now so you don’t pay twice later
5. When to hire a pro instead of DIY
Do NOT DIY these parts if you’re not 100% confident:
- Connecting a transfer switch or critical loads sub‑panel
- Tying a hybrid inverter system into the main breaker panel
- Working inside live service equipment or meter bases
- Designing large, scalable battery banks at higher voltages
In those cases, I design/plan the system myself, then pay a licensed electrician to do:
- Final wiring to the panel and transfer switch
- Grounding and bonding checks
- Final test and sign‑off for insurance and code
6. Operating best practices
Once your battery inverter setup is live:
- Keep a clear shutdown procedure posted near the system
- Don’t plug in new heavy loads during an outage if the battery is low
- Periodically test your essential load backup under real conditions
- Keep kids and pets away from the battery rack and wiring
Respect the system, follow good practice, and your backup power generator alternative will be safe, reliable, and ready when the grid fails.
Cost breakdown for a DIY home battery backup system
When I build a DIY home battery backup system, I look at total cost, lifetime value, and how fast it pays me back. Here’s the short version.
Typical DIY cost ranges
For a basic essential-load DIY home battery backup (fridge, lights, Wi‑Fi, a few plugs):
- LiFePO4 battery bank: $1,000–$4,000
- Example: a 51.2V LiFePO4 home battery around 20 kWh (like this 51.2V 400Ah LiFePO4 energy storage battery) can often cover most daily essentials.
- Hybrid inverter / battery inverter setup: $800–$2,500
- Transfer switch & protection gear: $300–$1,000
- Wiring, enclosures, misc. hardware: $200–$800
- Optional solar integration: $1,000–$5,000+ (depends on panel size and hardware)
Rough total:
- Essentials-only backup: $2,500–$6,000
- Whole house battery backup: $7,000–$20,000+ depending on capacity and loads
ROI and real savings
You save money with a home energy storage system in three main ways:
- Avoided outage costs: no spoiled food, no hotel stays, no business downtime at home.
- Time-of-use arbitrage: charge batteries off-peak, use them during expensive peak rates
Maintenance and Troubleshooting for a Home Battery Backup System
Keeping your DIY home battery backup system healthy is mostly about simple, regular checks. If you stay ahead of small issues, your batteries, inverter, and wiring will last a lot longer and stay safe.
Routine Checks (Monthly / Quarterly)
Do a quick visual and basic test routine:
Check the batteries
- Look for swelling, leaks, rust, or loose terminals.
- Make sure cables are tight and there’s no burnt smell or discoloration.
- For LiFePO4 home batteries, confirm the BMS app/monitor shows normal temps and voltages.
Check the inverter and wiring
- Confirm the battery inverter setup is clean, dry, and dust-free.
- Inspect cables for cracks, melted insulation, or hot spots when under load.
- Make sure all breakers, fuses, and the transfer switch are clearly labeled.
Monitor system performance
- Note how long your essential load backup actually runs in a real outage.
- Compare that runtime with your original power calculations—if it’s dropping a lot, it’s time to investigate.
Common Issues and Quick Fixes
Most problems with a residential energy storage system fall into a few buckets:
System shuts off too early
- Battery might be undersized or heavily degraded.
- Check for high loads you didn’t plan for (electric heaters, kettles, A/C).
- Verify inverter low-voltage cut-off settings are correct for your battery type.
Inverter won’t start or keeps faulting
- Confirm battery voltage is in range and polarity is correct.
- Check fuses/breakers between battery and inverter.
- Reset the inverter and review error codes in the manual or app.
Uneven battery performance
- In mixed or older battery banks, weak batteries drag down the entire system.
- With LiFePO4 home batteries, use the BMS to check for cells regularly hitting low or high voltage.
- Replace obviously weak units rather than pushing a failing bank.
Extending Battery Life
If you want your home energy storage system to last 10+ years, especially with lithium iron phosphate battery packs, stick to a few rules:
Avoid full discharge
- Try to keep daily depth of discharge around 70–80%, not 0–100%.
- Set your inverter or hybrid inverter system to cut off before the battery is fully empty.
Keep temperatures in check
- Install batteries in a cool, dry spot away from direct sun and heat sources.
- For LiFePO4, avoid charging below 0°C; use low-temp protection or insulated enclosures in cold regions.
Use quality components
- A well-matched inverter, proper cabling, and a solid BMS do more for lifespan than most people realize.
- High-voltage packs like a 256V LiFePO4 battery pack let you run efficient whole house battery backup with lower current and less stress on cabling.
Update firmware and settings
- Many modern hybrid inverter systems push firmware updates—install them.
- Revisit charge/discharge limits if you change loads or add more battery capacity.
When to Call a Professional
DIY is great, but stop and bring in a licensed electrician if you see:
- Burning smells, hot cables, or melted components
- Repeated breaker trips or unexplained inverter faults
- Visible battery damage, swelling, or severe corrosion
If you treat your DIY home battery backup as critical infrastructure, not a weekend toy, it will give you reliable off-grid power and power outage backup for years with very little stress.
Alternatives if DIY Home Battery Backup Isn’t Right for You
If building a DIY home battery backup system feels risky or too technical, you’ve got solid alternatives that still give you reliable power outage backup without the hassle.
1. Plug-and-Play Home Battery Backup Systems
These are all-in-one units with battery, inverter, and charger built in. You just plug them into the wall or wire them into a dedicated circuit.
Best for you if:
- You rent or move often
- You only need essential load backup (Wi‑Fi, lights, fridge, work PC)
- You don’t want to deal with wiring, code, or permits
Look for:
- LiFePO4 (lithium iron phosphate) batteries for long cycle life
- Enough kWh to cover your typical outage hours
- Hybrid inverter system compatibility if you plan to add solar later
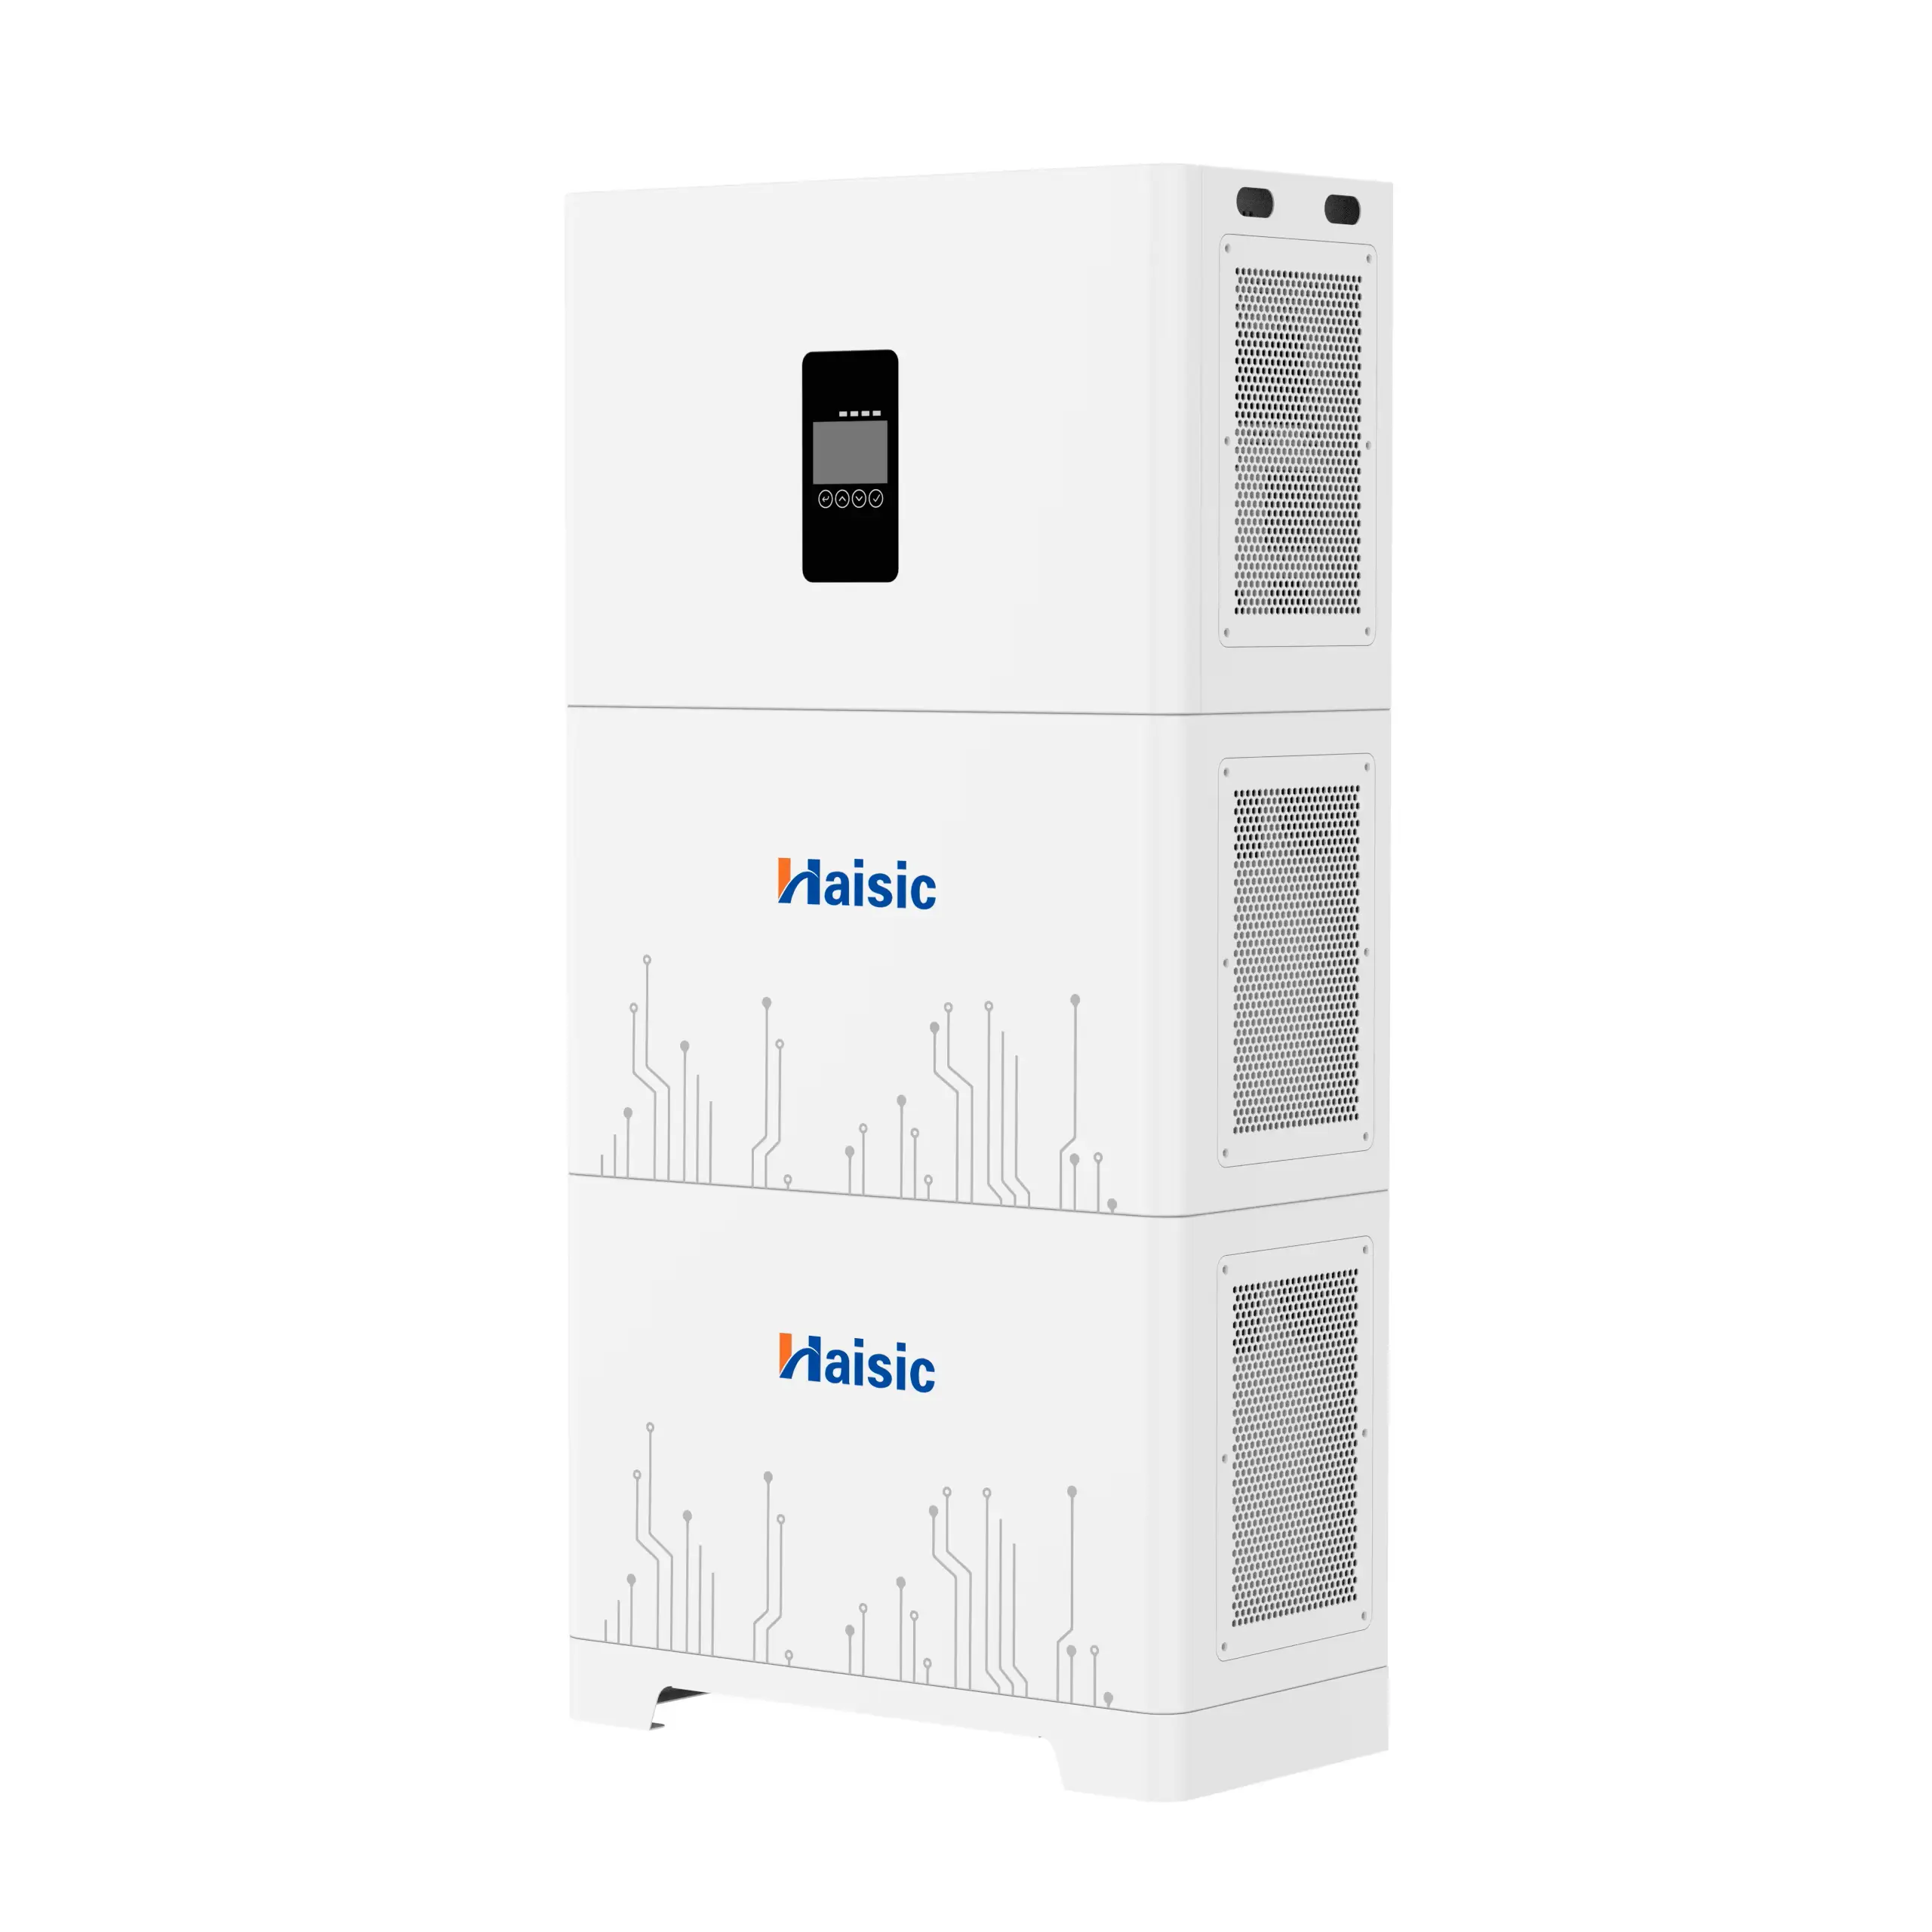
If you want something scalable beyond small power stations, consider a modular residential energy storage system like a high‑volt stacked 20–30 kWh battery that’s designed to be plug‑and-play with a hybrid inverter. Systems similar to the high‑volt stacked 30 kWh home energy storage format are built exactly for this.
2. Professional Whole House Battery Backup Installation
For full whole house battery backup, a pro install is often the smartest move.
What a pro will handle:
- System sizing for your actual usage and essential load backup
- Transfer switch installation or backup sub‑panel
- Safe battery inverter setup to meet local electrical code
- Integration with solar for a full hybrid off‑grid power solution
This route costs more upfront but gives you:
- Proper permits and inspections
- Clean, permanent installation
- Warranty and support if something fails
If you want a turnkey residential energy storage solution with sizing help, I usually guide customers to start with a tailored system design—similar to what’s offered on solution-focused pages like these kinds of home energy storage solutions.
3. Generator + Small Battery Combo
If budget is tight, a backup power generator alternative doesn’t have to be all-battery:
- Use a small LiFePO4 home battery for silent overnight use and sensitive electronics
- Add a portable generator for long outages to recharge the battery and run heavy loads (well pump, AC, tools)
This hybrid approach cuts fuel use, noise, and wear on the generator while giving you clean, stable power for electronics.
If DIY isn’t your thing, don’t force it. A plug‑and‑play home energy storage system or a professional residential installation will give you much better reliability, safety, and long‑term value with far less stress.