
Are you struggling to figure out exactly how to install a home battery system?
Getting the right setup can mean the difference between true energy independence and a costly electrical hazard.
As an industry expert, I know that choosing the correct hardware and safely navigating the installation process goes way beyond the basic instruction manuals.
In this post, you\’re going to learn exactly how to execute a complete home battery backup installation, step by step.
We will cover everything from sizing your LiFePO4 home storage and choosing an AC vs DC coupled battery, to the exact safety protocols required for a successful DIY solar battery setup.
So if you\’re looking to protect your home from outages and lock in your energy savings safely and efficiently, this guide is for you.
Let\’s dive right in.
Pre-Installation Planning and Sizing
Figuring out how to install a home battery system starts long before you mount anything to a wall. I constantly see homeowners rush into buying equipment without mapping out their actual energy needs. If you want true energy independence and a system that will not fail during a blackout, you have to get the math right first.
Calculate battery capacity for home
You need to know exactly what you are powering. Not all appliances pull the same amount of power from your grid. Look at your critical load panel wiring and identify the essentials: refrigerators, well pumps, Wi-Fi routers, and necessary lighting.
- Running Watts: The continuous power an appliance needs to operate normally.
- Starting Watts: The massive, temporary spike in power needed to turn on motor-driven appliances (like HVAC units or deep freezers).
Your total daily energy consumption dictates the size of your energy storage system. If your critical load demands 20kWh during an overnight outage, a single 5.12kWh module is not enough. You must scale up, calculating the exact load to see if you need an expanded 26.88kWh high-voltage home backup system.
AC vs DC coupled battery systems
When planning your hybrid solar inverter installation, you must choose how the battery bank integrates with your solar panels. Here is a quick breakdown to help you decide which route fits your property:
| System Type | Best Application | Efficiency Profile | Installation Complexity |
|---|---|---|---|
| AC-Coupled | Retrofit battery to existing solar setups | Slightly lower due to multiple power inversions | Generally easier to add to an older, pre-existing solar array |
| DC-Coupled | Brand new home battery backup installation | Highly efficient (direct DC to DC charging) | Requires a high-quality 3kW-12kW hybrid solar inverter |
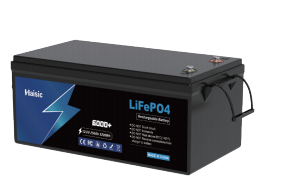
Choosing the Right Battery Chemistry and Format
I strictly recommend LiFePO4 home storage (Lithium Iron Phosphate). It is the safest, most stable battery chemistry available today, easily delivering over 6,000 charge cycles for reliable longevity. Once you lock in the LiFePO4 chemistry, choose a physical format that fits your utility room or garage space. We design these to be adaptable for any layout:
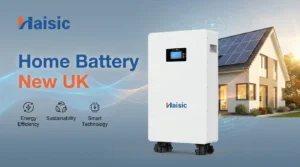
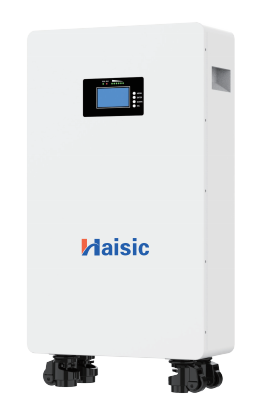
- Wall-mounted solar battery: Perfect for tight spaces, keeping the floor clear while offering a sleek, modern aesthetic.
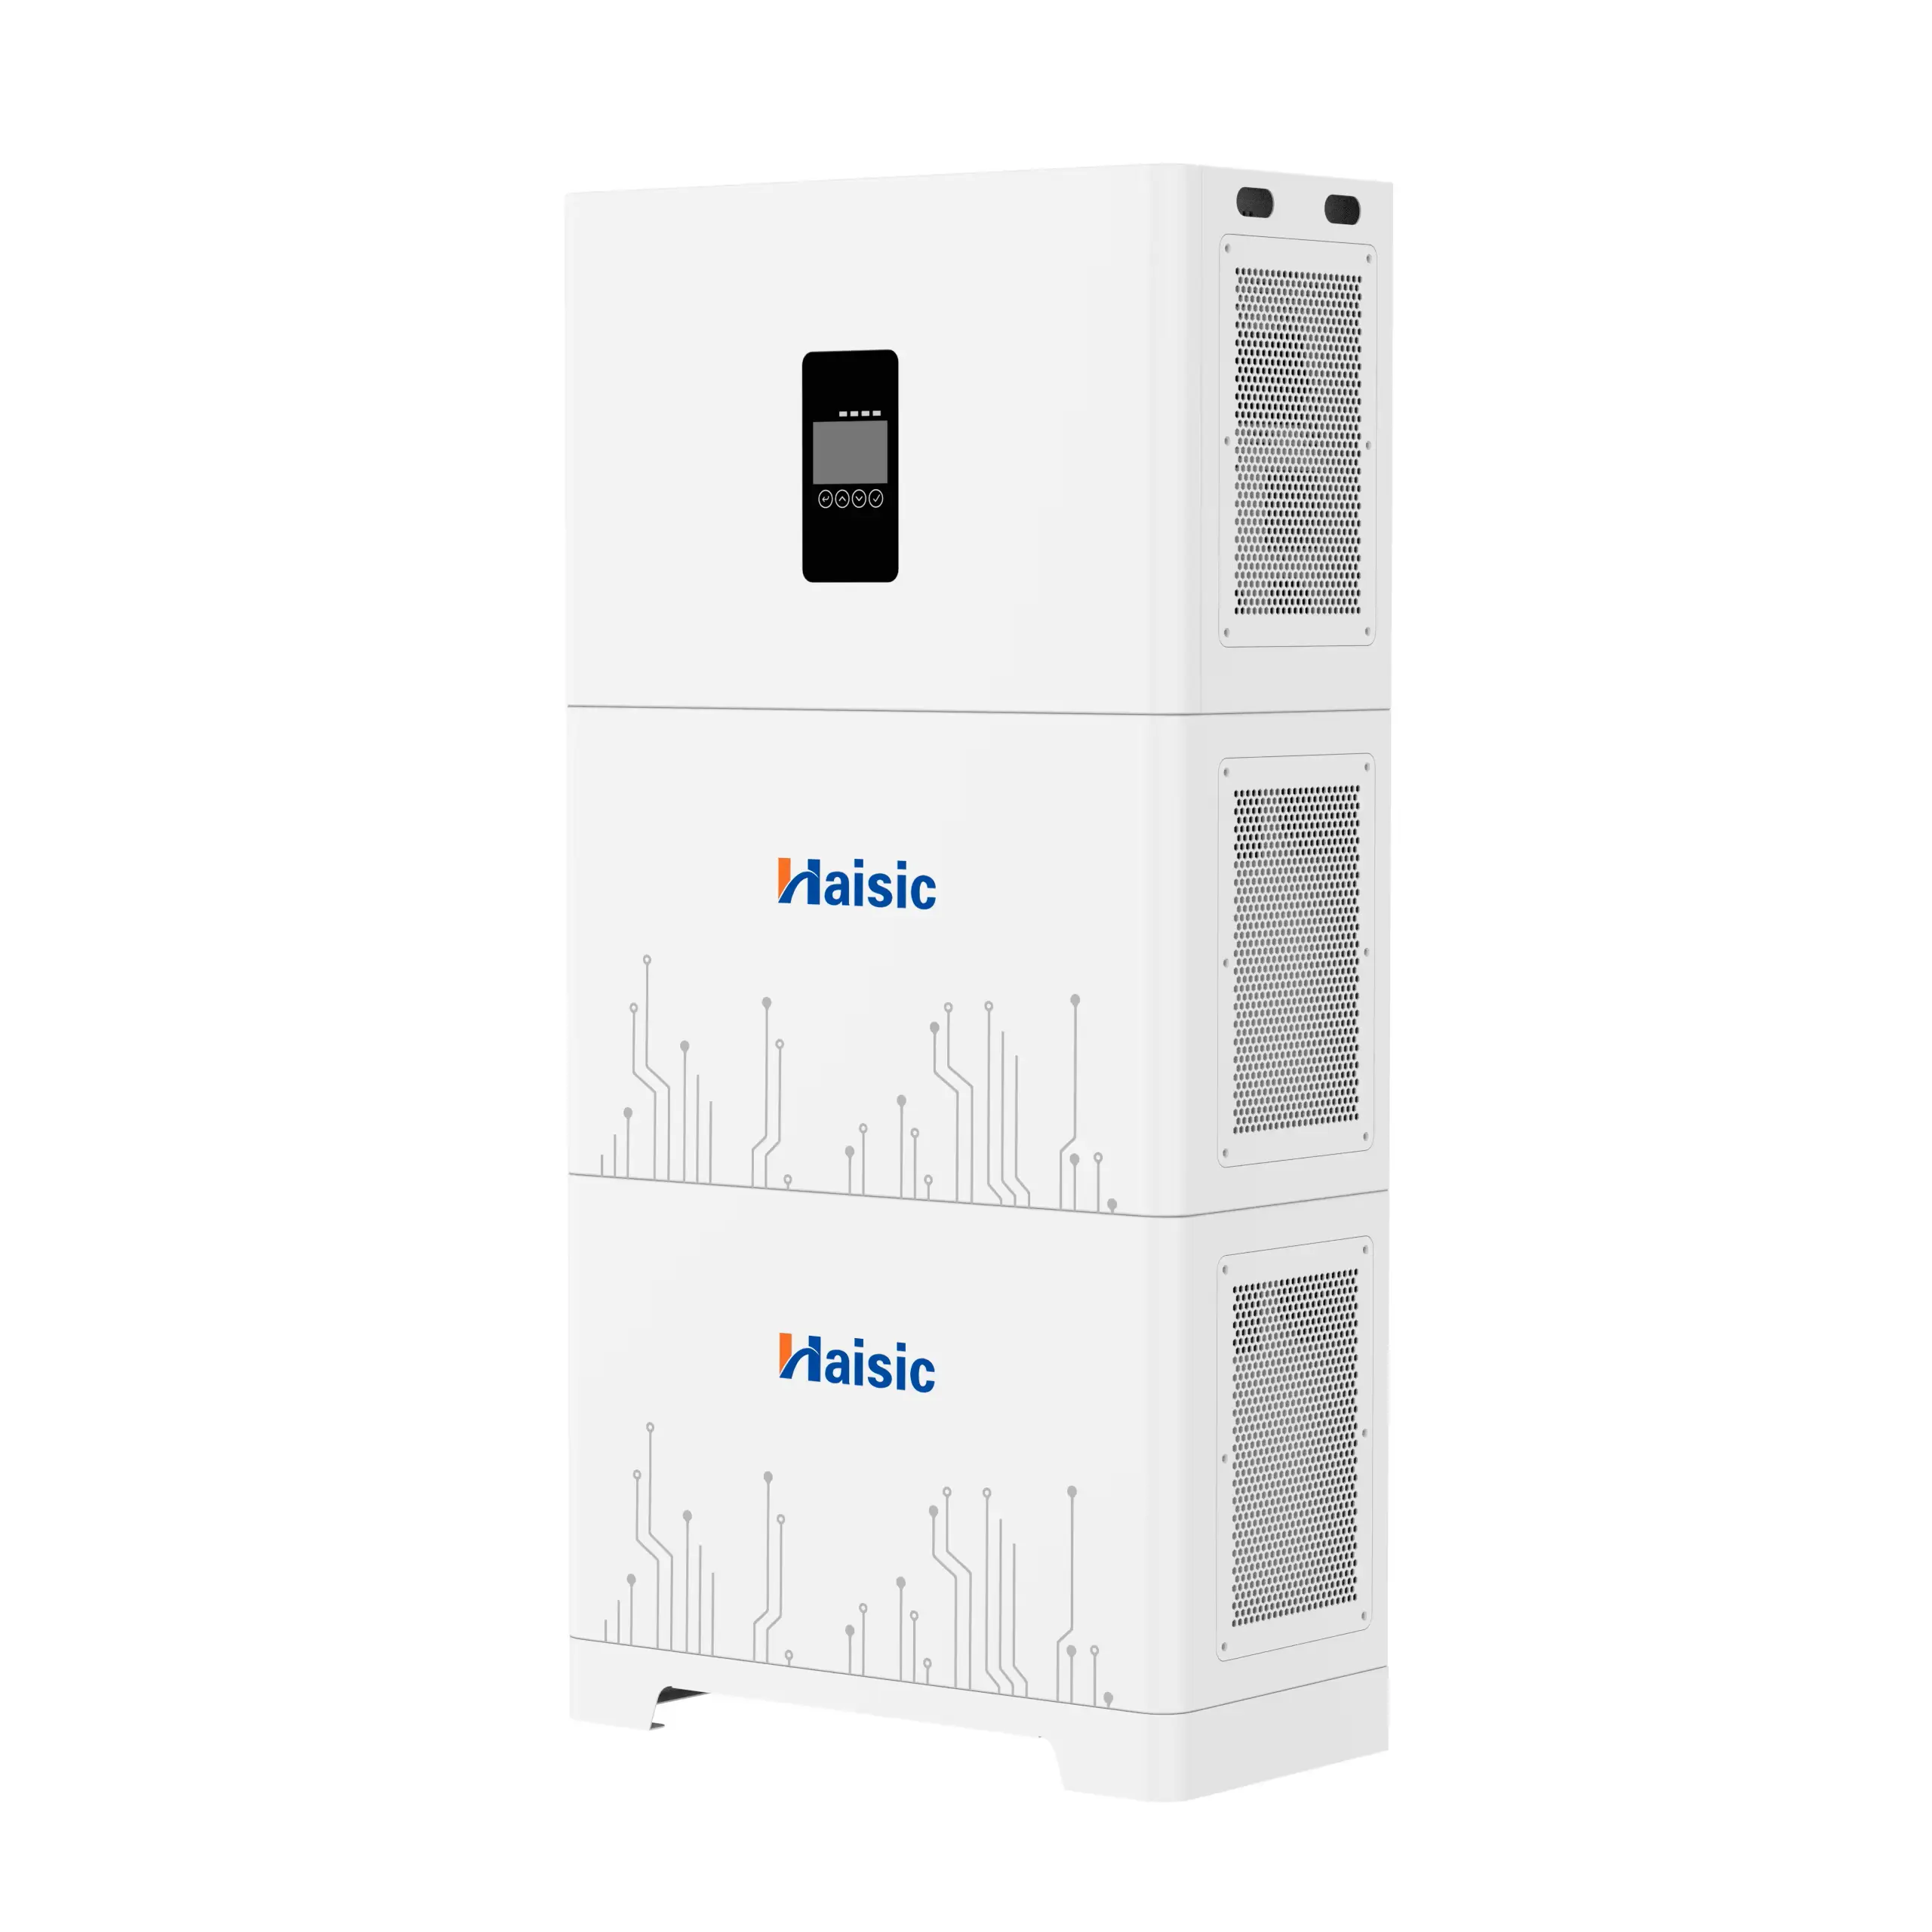
- Stackable energy storage system: Ideal for scaling up. You can start with a 51.2V 100Ah base module and seamlessly stack more units as your household energy demand grows.
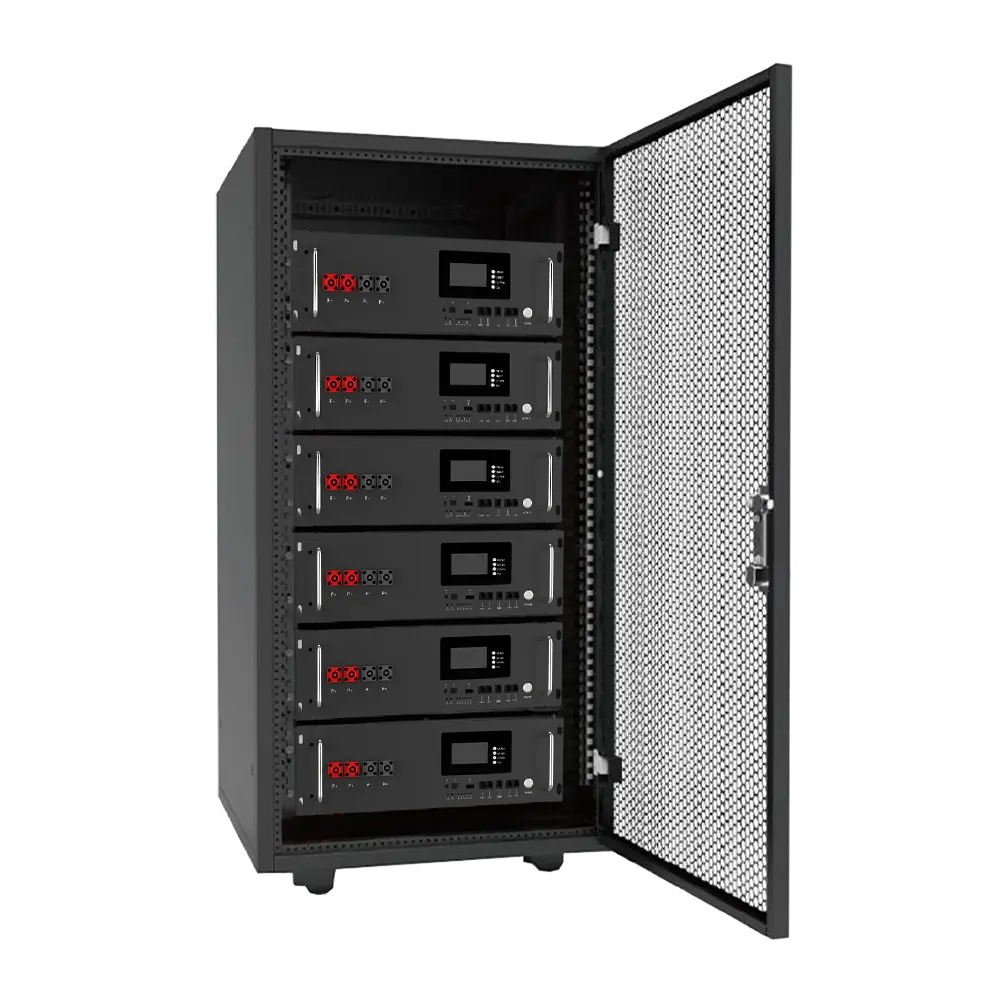
- Floor-standing & Rack-mounted: The go-to choice for heavy-duty, high-capacity residential power demands.
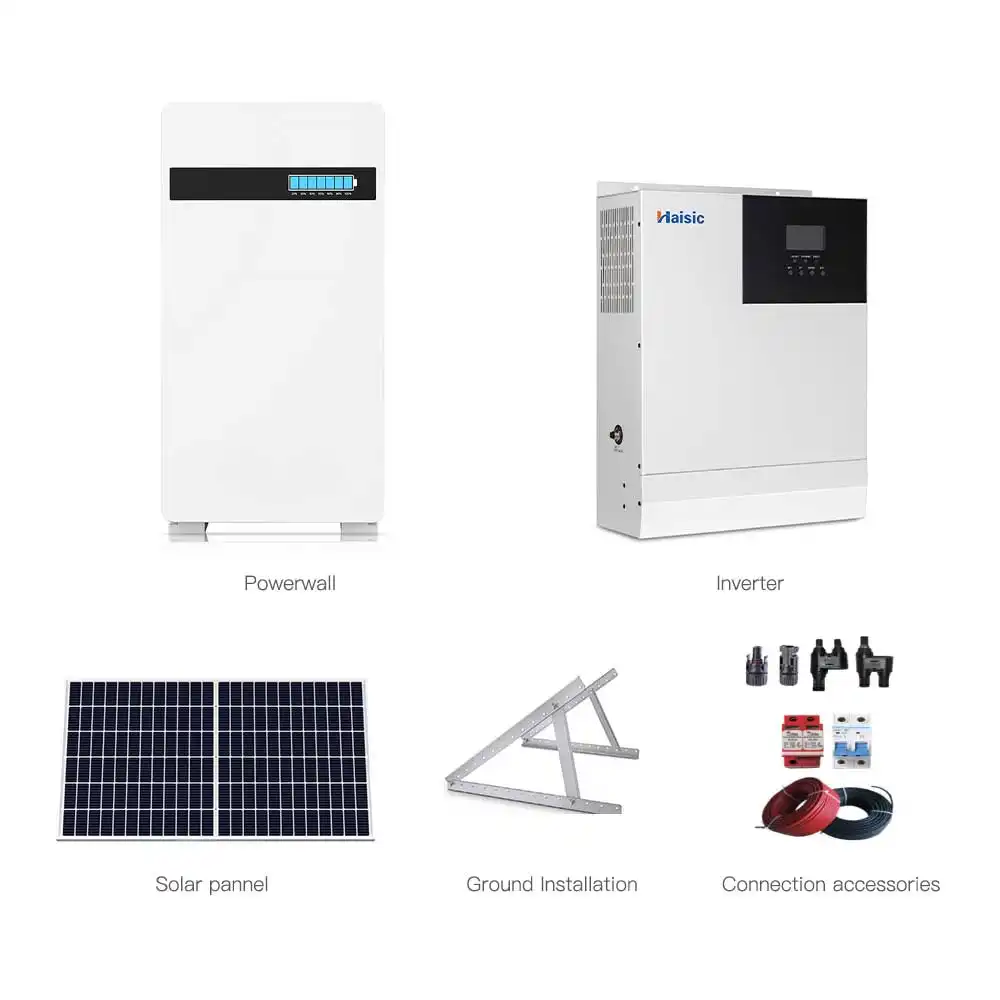
Phase 2: System Components & Hardware Checklist
Before you finalize how to install a home battery system, you need a definitive hardware checklist. Gathering the right components guarantees a safe, efficient, and long-lasting energy storage solution. Here is exactly what you need to get your system running smoothly.
The Battery Bank
This is the heart of your setup. We highly recommend using LiFePO4 home storage batteries due to their exceptional safety profile and proven longevity. Depending on your physical space and energy demands, you can choose from wall-mounted, floor-standing, or a flexible stackable energy storage system. Sourcing your hardware from a reputable custom energy storage system manufacturer allows you to scale your capacity perfectly, starting from a compact 5.12kWh pack up to a robust 26.88kWh high-voltage setup for whole-home backup.
The Hybrid Solar Inverter
The inverter bridges the gap between your solar panels, the battery bank, and your home appliances. A proper hybrid solar inverter installation typically utilizes a 3kW to 12kW IP65-rated unit. To ensure maximum efficiency and compatibility, your inverter must feature:
- Pure Sine Wave output for safe and stable appliance operation.
- Built-in MPPT controllers to maximize the solar yield from your panels.
- Dual compatibility to support both on-grid and off-grid operational modes.
Battery Management System (BMS)
You cannot run a modern lithium battery safely without a BMS. Proper battery management system (BMS) configuration serves as the vital intelligence of your battery bank. It constantly monitors voltage, temperature, and current to prevent overcharging or deep depletion. Our integrated BMS protects the internal cells, ensuring they reliably hit their 6,000+ charge cycle lifespan while enabling smart remote monitoring via WiFi or GPRS.
Cabling, Breakers, and Disconnect Switches
The wiring and safety hardware are just as critical as the primary equipment. To strictly meet local solar battery safety codes, your installation checklist must include:
- Heavy-duty DC cables: Sized appropriately to handle maximum current loads without overheating.
- DC disconnect switches: Absolutely essential for safely cutting power between the battery and inverter during maintenance.
- Dedicated breakers: Required for safe critical load panel wiring and protecting your entire energy storage system from unexpected electrical surges.
Phase 3: The Installation Process (Step-by-Step Overview)
When figuring out exactly how to install a home battery system, I always emphasize that the physical work is just a series of logical, methodical steps. Once the math is done and the components arrive, here is how I approach the actual installation.
Step 1: Home Battery Permitting Process & Site Prep
Before turning a single wrench, I clear the home battery permitting process. You need clearance from your local utility and city building department. Once approved, I prep the physical site. I clear the designated wall or floor space, ensuring it meets all local fire codes for clearances, temperature control, and ventilation.
Step 2: Mounting the Hardware
Whether you are managing a DIY solar battery setup or directing a professional crew, secure mounting is absolutely non-negotiable.
- Wall-Mounted: I anchor heavy-duty brackets straight into wall studs.
- Floor-Mounted: If deploying a stackable energy storage system, I ensure the floor is perfectly level and load-bearing.
This is the physical stage where the lithium-ion battery for solar storage and the inverter are permanently set in place.
Step 3: Making the Connections (Wiring)
This step requires precision. I route heavy-gauge DC cables between the battery terminals and the inverter. A major part of this stage involves critical load panel wiring. I physically relocate the vital circuits for your refrigerator, core lighting, and internet router to a dedicated subpanel so they stay live during a grid failure. I ensure all DC breakers and disconnect switches are properly installed to isolate the system safely.
Step 4: Communication Cabling (BMS Setup)
Your hardware needs to talk. I run standard communication cables (typically CAT5 or CAT6) between the battery units and the inverter. Accurate battery management system (BMS) configuration is crucial here. The BMS acts as the brain for your energy storage system (ESS) integration, actively balancing cells, monitoring temperatures, and preventing both overcharging and deep discharging.
Step 5: Powering On and Commissioning
I double-check every single connection point with a multimeter before flipping any switches. The power-on sequence must be followed strictly:
- Engage Disconnects: I turn on the DC battery disconnects first to supply power to the system.
- Inverter Startup: Power up the inverter to finalize the hybrid solar inverter installation.
- Grid Sync: I switch on the AC breakers and wait for the system to boot, recognize the batteries, and sync to the grid.
- Load Testing: Finally, I cut the main grid power to simulate an outage and run a test load to confirm the critical circuits operate seamlessly.
Common Installation Mistakes to Avoid
When figuring out how to install a home battery system, I always emphasize that the devil is in the details. A single oversight during your home battery backup installation can severely compromise your entire setup. Based on my experience in the industry, here are the most frequent blunders you must steer clear of:
- Undersizing wire gauges for DC runs: Direct Current (DC) carries a massive amount of power between your battery and inverter. Using cables that are too thin creates dangerous resistance, leading to severe voltage drops and a serious fire hazard. Always consult local solar battery safety codes and use properly rated, heavy-duty cables.
- Mixing different battery brands, ages, or chemistries: Do not attempt to frankenstein your power supply. Combining a new LiFePO4 home storage unit with older batteries, or mixing different brands, completely destroys the system\’s internal balance. This prevents proper battery management system (BMS) configuration, drastically reducing both the lifespan and safety of your entire bank.
- Failing to account for future expandability: Your household energy needs today probably won\’t be the same in five years. Don\’t box yourself into a corner with a closed system. Always plan for a stackable energy storage system from day one. If you start out with a reliable 10kWh wall mounted home energy storage unit, ensure your breaker panel, physical wall space, and wiring capacity can easily handle adding a second or third unit down the road.
DIY Installation vs. Hiring a Professional
When figuring out how to install a home battery system, the biggest decision I see homeowners face is choosing between a DIY solar battery setup and hiring a certified professional. Both routes have major implications for your long-term budget and safety.
Cost, Time, Warranty, and Safety Risks
- Cost: While doing it yourself cuts out upfront labor fees, electrical mistakes are incredibly expensive to fix. When you look at the total cost of battery storage per kWh over the lifespan of the unit, a professional install often pays for itself by preventing costly hardware damage.
- Time: A professional crew completes a home battery backup installation in a day or two. DIY projects easily drag on for weeks when you factor in learning curves, sourcing parts, and navigating the local home battery permitting process.
- Warranty Implications: Most major manufacturers will immediately void your warranty if the system is not installed by a licensed electrician. Protecting your investment in a reliable battery for home energy storage requires sticking to their strict installation guidelines.
- Safety Risks: You are dealing with high DC voltage and complex critical load panel wiring. A single wrong connection risks electrocution, fire hazards, and failing to meet vital solar battery safety codes.
Why Manufacturer-Approved Installers Matter
Working with a certified, brand-approved installer guarantees your system is built right the first time. These technicians understand the specific hardware quirks, required firmware updates, and seamless energy storage system (ESS) integration needed for your exact unit. They ensure your battery setup passes local grid inspections, operates at peak efficiency, and keeps your manufacturer warranty fully intact from day one.
FAQs: How to Install a Home Battery System
Do I need a permit to install a home battery?
Yes, almost always. The home battery permitting process depends heavily on your local municipality and utility company. Because you are connecting a high-voltage energy storage system to the grid or your critical load panel, local authorities must verify that the installation meets structural and electrical standards before you power anything on.
Can I install a home battery system myself?
While a DIY solar battery setup might seem like a smart way to cut costs, we strongly advise against it unless you are a certified, licensed electrician. Handling high-voltage LiFePO4 battery packs and wiring up a hybrid solar inverter carries significant safety risks. Furthermore, most local jurisdictions and manufacturer warranties require a certified professional for the installation to be valid. To start your project on the right foot, research the best home battery for solar for your specific capacity needs, and then hire a pro to handle the heavy lifting and configuration.
What are the safety codes for solar batteries?
Solar battery safety codes vary globally but universally focus on fire prevention, secure hardware mounting, and safe electrical routing.
- Installation Standards: Installations typically must comply with the National Electrical Code (NEC) in North America, or local equivalents internationally.
- Hardware Certifications: The equipment itself must be rigorously tested. We engineer our energy storage systems to meet strict global benchmarks, carrying CE, FCC, RoHS, and UN38.3 certifications to guarantee peace of mind once installed in your home.