

Phase 1: Understanding Solar Panel Mounting Basics
When we talk about mounting solar arrays, the biggest worries I hear from clients usually revolve around roof leaks, wind uplift, and long-term liability. Whether you are handling a residential roof solar installation or scaling a B2B commercial project, getting the structural foundation right is non-negotiable.
Essential Solar Mounting Hardware
To build reliable solar panel racking systems, you need field-tested components. Here is the standard hardware lineup we rely on to ensure safety and code compliance:
| Hardware Component | Function & Application |
|---|---|
| Flashings | Waterproof barriers installed under shingles to prevent roof leaks at penetration points. |
| Lag Bolts | Heavy-duty steel anchors that secure the entire system directly into the roof rafters. |
| L-Feet | The structural brackets that connect the roof flashings to the aluminum mounting rails. |
| Rails | The extruded aluminum tracks that form the foundation for holding the solar panels. |
| Clamps | Mid and end clamps used to lock the PV modules securely onto the rail system. |
Mounting on Different Roof Types
Every roof demands a specific approach to maintain warranties and ensure structural integrity:
- Asphalt Shingle: We prioritize aggressive leak prevention by pairing galvanized lag bolts with premium aluminum flashings.
- Metal Roofs: We utilize penetration-free seam clamps. These grip the raised seams of the metal roof without drilling a single hole, drastically reducing installation time and leak liability.
- Flat Roofs: For commercial setups, we typically deploy ballasted solar mounts. These use heavy concrete blocks to hold the array down via gravity, entirely avoiding roof membrane penetrations. If local wind loads are extreme, we pivot to mechanically anchored mounts.
Ground Mounts & Pole Mounts
When roof space is limited or unoptimized, ground and pole mounts provide the ultimate flexibility. For these systems, structural engineering is the primary focus. We require deep concrete footings and heavy-gauge steel structures to withstand high wind and snow loads. The major advantage here is control: ground systems allow us to engineer the exact tilt angle and orientation needed to capture maximum solar irradiance, unconstrained by an existing roof\’s pitch.
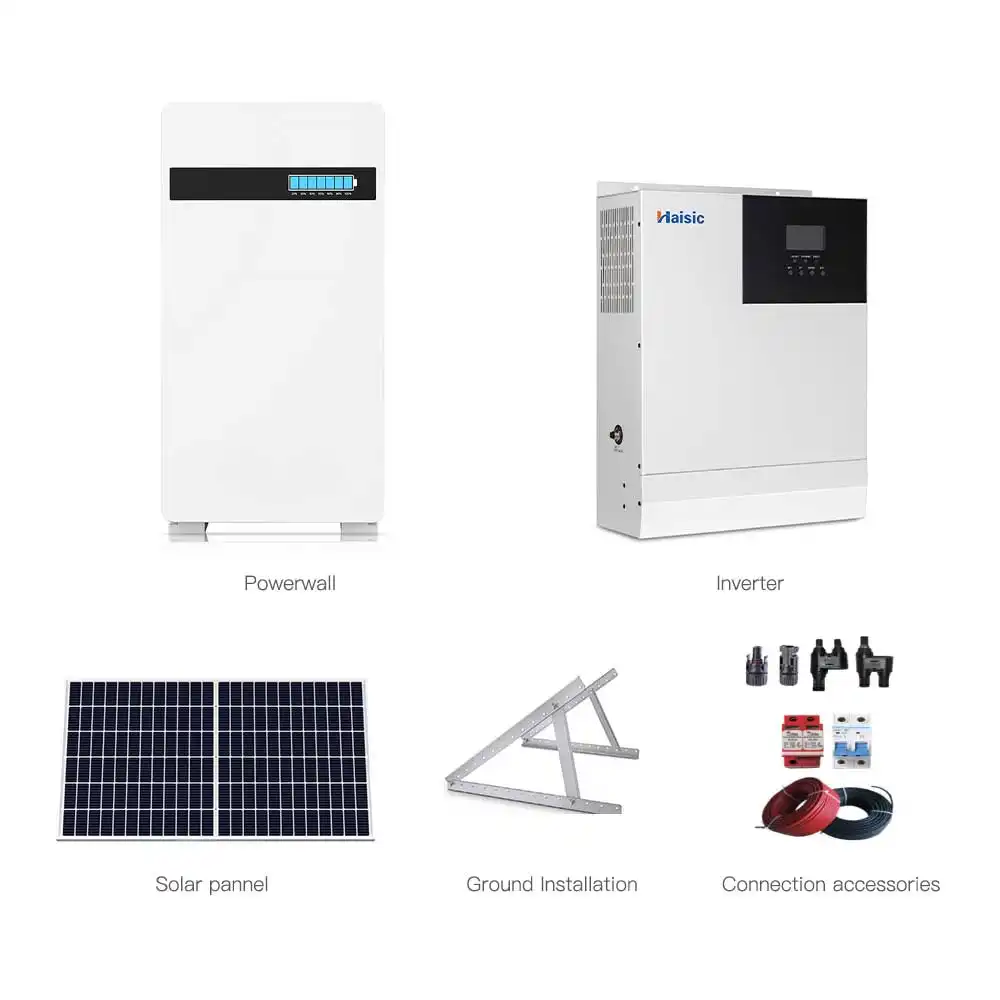
Phase 2: Mounting Solar Energy Storage Systems
Getting your panels up is just the first step. When building out a complete home solar system, mounting solar energy storage is often the missing link. How you secure your batteries dictates the safety, longevity, and efficiency of your entire setup.
Why Proper Battery Mounting Matters
You cannot simply drop a battery in a corner and walk away. A reliable solar energy storage installation demands precision.
- Weight Distribution: Solar batteries are incredibly dense. Distributing this weight correctly prevents structural damage to your property.
- Ventilation: Batteries generate heat during charge and discharge cycles. Proper mounting guarantees the airflow needed for safe thermal management.
- NEC Safety Compliance: Adhering to National Electrical Code standards is non-negotiable. Proper spacing and secure anchoring keep your system compliant and safe from hazards.
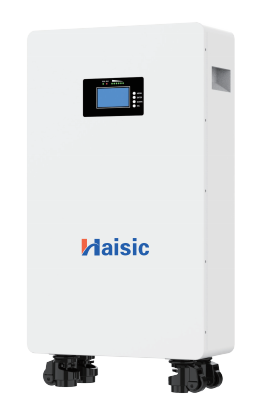
Wall-Mounted Solar Batteries
For the average homeowner, a wall-mounted ESS is the smartest choice. It frees up floor space and keeps the unit safe from ground-level hazards.
- Find Load-Bearing Studs: A standard 5.12kWh to 10kWh battery easily weighs over 100 pounds. You must anchor the mounting plate directly into solid structural studs or concrete.
- Ground Clearance: Always install the unit with adequate clearance from the floor. This protects the solar battery enclosure from localized flooding, dust, and physical impact.
- Residential ESS Mounting: This method is the industry standard for home setups, offering a clean aesthetic alongside reliable daily performance.
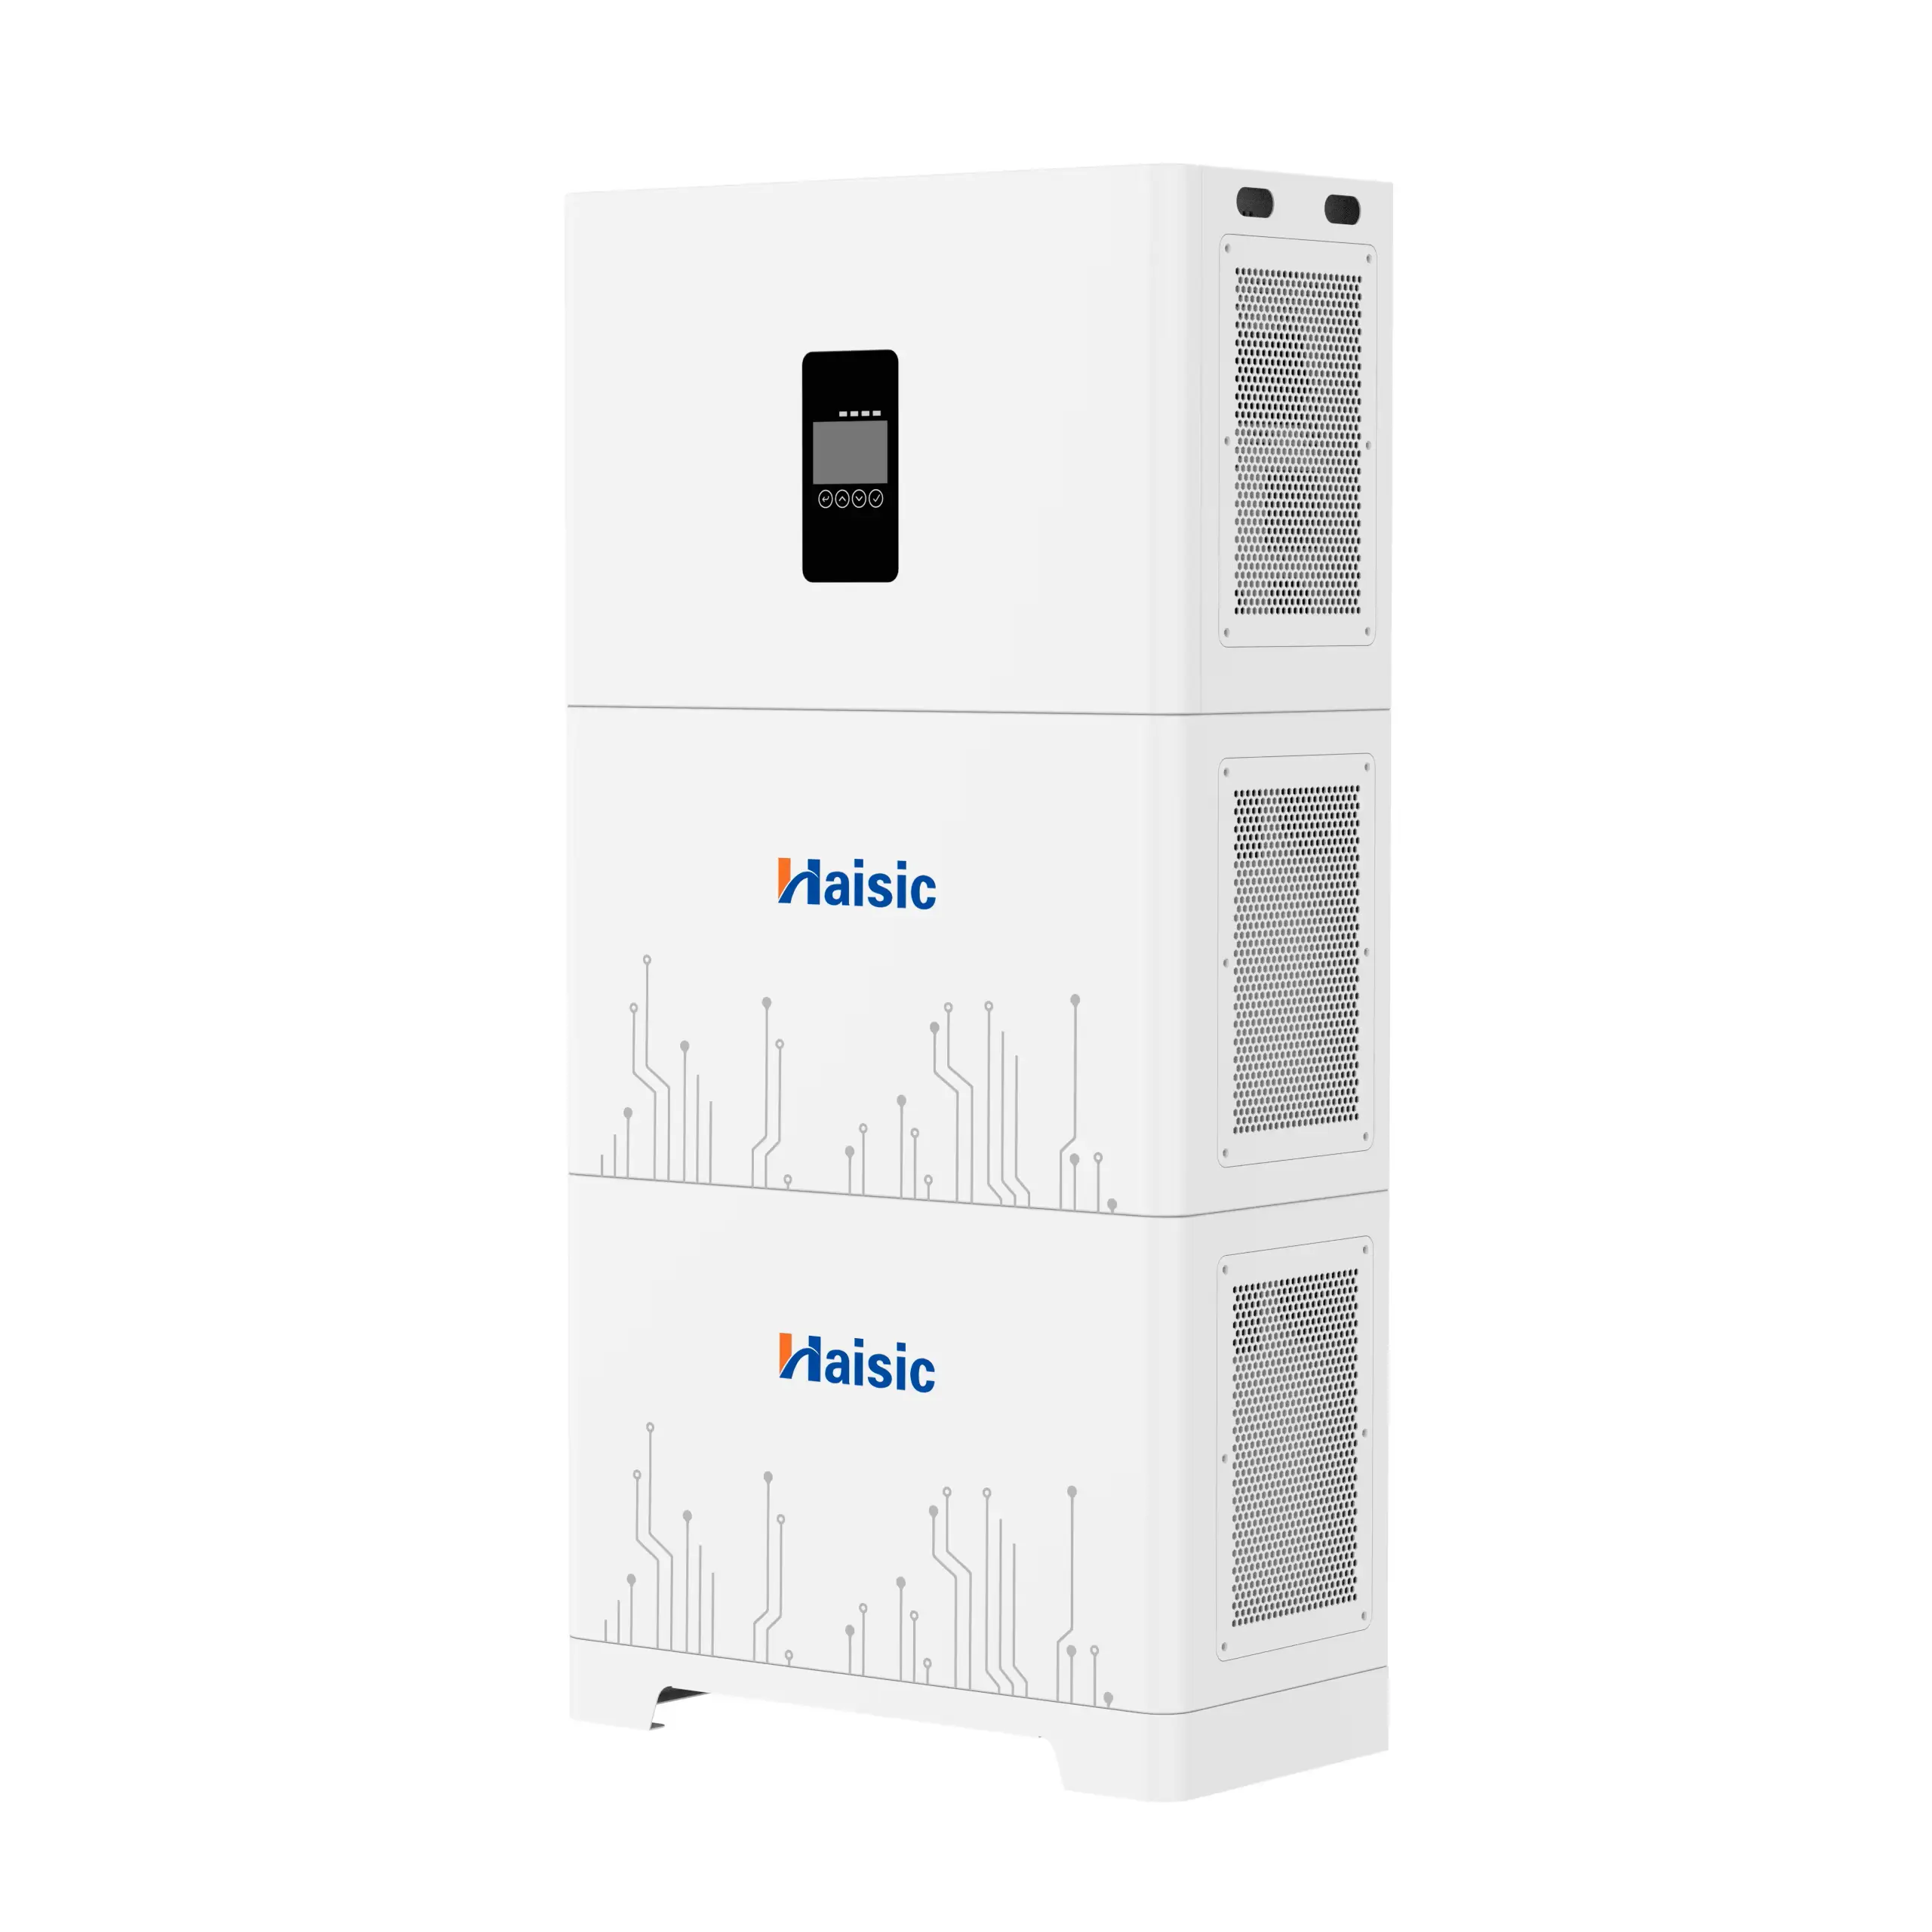
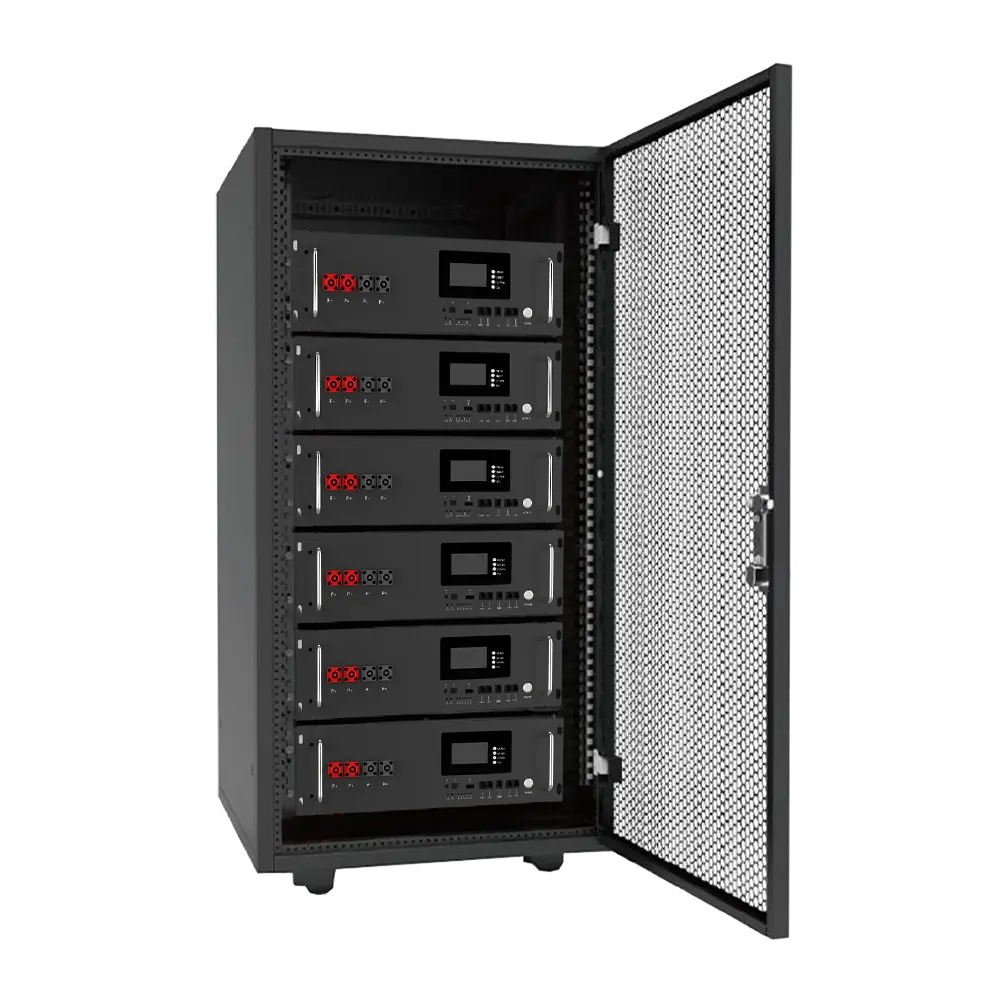
Rack-Mounted Solar Storage
If you need heavy-duty capacity or plan to expand your system over time, a rack-mounted solar battery is what I use and recommend.
- Scalable ESS Design: Server-style enclosures allow you to parallel stack multiple units, easily growing your storage as your energy needs increase.
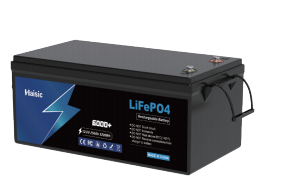
- Securing the System: A loaded LiFePO4 battery rack carries immense weight. The rack must be permanently bolted to a concrete floor to eliminate tipping risks.
- Commercial and Heavy-Duty Use: Whether you are running an off-grid homestead or need commercial solar battery racks for a business, this setup delivers unmatched durability and high-capacity storage management.
Crucial Safety and Wiring for Mounting Solar
When we talk about mounting solar, safety always comes before aesthetics. Proper wiring and grounding are non-negotiable to protect your property from electrical faults and ensure your off-grid solar setup runs smoothly.
Solar System Grounding
Grounding keeps your system safe by giving stray electricity a direct path to the earth. We focus on two main areas to ensure total protection:
- Roof Mounts: Every metal component of your solar panel racking systems must be securely bonded together.
- Battery Enclosures: Indoor metal structures, including your LiFePO4 battery rack and inverter chassis, must also be properly grounded to prevent shock hazards.
Cable Management
Clean wiring isn\’t just about keeping things tidy; it prevents long-term wear, weather damage, and potential fire risks.
- Routing PV Wires: Always use heavy-duty, UV-rated wire clips to secure cables neatly against the rails. Loose wires exposed to wind and roof friction will eventually fail.
- Connecting to Storage: When running lines from the roof mounts down to your solar inverter wall mount, use dedicated exterior conduits. This protects the high-voltage DC lines as they route directly into your 10kW storage battery or residential ESS setup.
- Keep it Short: Always plan your conduit paths to be as short and straight as possible to minimize voltage drop and maximize system efficiency.
Frequently Asked Questions (FAQ) on Mounting Solar
We often get asked these common questions when helping customers plan their solar energy storage installation and roof mounting:
Do I need to drill holes to mount solar panels?
It heavily depends on your roof type.
- Asphalt Shingle Roofs: Yes, you typically need to drill lag bolts directly into the roof rafters. Proper flashing is mandatory to prevent leaks.
- Metal Roofs: If you have a standing seam metal roof, you can use penetration-free clamps to secure the solar mounting hardware without drilling a single hole.
- Flat Roofs: You can often use ballasted solar mounts. These systems use concrete blocks to weigh the racking down, keeping your roof membrane completely intact.
How heavy is a wall-mounted solar battery?
A residential wall-mounted ESS carries serious weight. Depending on the exact chemistry and casing, a standard 5.12kWh to 10kWh lithium battery generally weighs between 100 and 250 pounds. Because of this heavy load, you must secure the mounting bracket directly into structural, load-bearing wall studs. Standard drywall anchors will fail.
Can I expand a rack-mounted solar battery system later?
Absolutely. Scalability is the core advantage of using a LiFePO4 battery rack. You can start with a baseline capacity and simply slide new battery modules into the server rack, wiring them in parallel as your daily energy needs increase. For instance, if you know your power demands will increase over time, installing an expandable high voltage LiFePO4 home energy storage system gives you the framework to easily add modules later without overhauling your entire off-grid solar setup.