

Understanding Cost Drivers: Why is Racking Expensive?
Finding the cheapest ground mount solar racking system starts with understanding exactly where your money goes. It’s not just about buying metal bars; you are paying for durability against the elements. If you strip away the marketing, the price tag usually comes down to three main factors: raw materials, engineering safety, and how you stick it into the ground.
Material Volatility: Aluminum vs. Galvanized Steel
The biggest chunk of your budget is the metal itself. Prices fluctuate wildly based on global supply chains.
- Aluminum: Lightweight and naturally corrosion-resistant. It’s easier to ship and install but often carries a higher price per pound.
- Galvanized Steel: The heavy-duty budget king. It is significantly cheaper and stronger than aluminum, making it ideal for large DIY solar ground mount plans, but it is heavier to transport and harder to cut on-site.
Structural Integrity: Engineering for Wind and Snow Load
You aren\’t just building a shelf; you are building a sail. Cheap racking fails because it ignores physics. A proper system must withstand:
- Wind Uplift: High winds try to rip panels off the ground.
- Snow Load: Heavy wet snow can crush under-engineered rails.
- Cost Impact: Higher safety ratings require thicker steel and deeper foundations, driving up the cost per watt of solar racking.
Foundation Types: Concrete Piers vs. Ground Screws vs. Driven Piles
The interface between your rack and the earth is a major hidden cost.
- Concrete Piers: The classic DIY route. It’s labor-intensive (digging holes, mixing cement) but materials are cheap and locally available.
- Ground Screws: Faster than concrete but requires specialized equipment or expensive screws.
- Driven Piles: Standard for commercial farms. It involves pounding steel beams directly into the soil. It\’s fast but usually requires heavy machinery that kills the budget for small residential projects.
Tier 1: The DIY Pipe and Lumber Approach
For the absolute cheapest ground mount solar racking system, many builders turn to raw materials found at the local hardware store rather than buying a pre-packaged kit. This \”Tier 1\” approach is strictly for those willing to put in the sweat equity to design and build from scratch. It relies heavily on standard construction materials that are readily available globally, bypassing expensive shipping fees for specialized aluminum rails.
Using Schedule 40 Steel Pipe for Rigid Support
The backbone of most heavy-duty DIY racks is Schedule 40 steel pipe. Unlike thin-walled tubing, Schedule 40 is thick, rigid, and widely accepted by building codes for structural applications. It is the gold standard for a reason: it resists bending under heavy snow loads and high winds better than almost any other budget material.
When you source this locally, you avoid the massive freight charges associated with shipping 20-foot rails. You can often find galvanized steel solar structure components at local metal yards or plumbing suppliers. By using standard pipe sizes (usually 2-inch or 3-inch), you can also utilize generic pipe fittings and clamps rather than proprietary solar hardware, significantly lowering the cost per watt.
Pros and Cons of Pressure-Treated Lumber
Some DIY enthusiasts try to cut costs even further by introducing pressure-treated lumber into the mix. While wood is significantly cheaper and easier to cut than steel, it comes with serious trade-offs for a solar array that needs to last 25+ years.
- Pros:
- Extremely low upfront cost.
- Easy to modify on-site with standard carpentry tools.
- Widely available at any big-box home improvement store.
- Cons:
- Warping and Twisting: As wood dries and ages, it moves. This can put stress on your solar panels and potentially crack the glass or micro-fracture the cells.
- Maintenance: Wood requires periodic sealing or staining to maintain its integrity.
- Ground Contact: Even treated wood will eventually degrade if buried directly in wet soil without concrete piers.
Risk of Rot and Custom Fabrication Challenges
The biggest gamble with a wood-based or hybrid DIY system is longevity. Solar panels are designed to generate power for decades, often outlasting the wooden structure supporting them. If your racking rots out in year 10, you face the dangerous and expensive task of dismantling the entire live array to rebuild the frame.
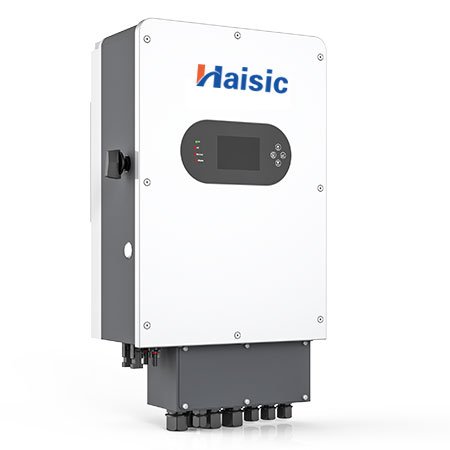
Furthermore, custom fabrication is not for the faint of heart. You aren\’t just bolting parts together; you are engineering a structure. You need to devise your own method for attaching the panels to the round pipe or flat lumber securely. This often involves drilling custom holes or fabricating brackets, which adds significant labor time. While you save cash, you pay with time. If you are building an off-grid system, saving money here might allow you to invest more in a LiFePO4 battery for solar energy storage to ensure your power supply is as reliable as your structure.
Tier 2: Universal Rail-Less and Clamp Systems
If you aren\’t comfortable fabricating everything from scratch but still want to avoid the high price tag of a full turnkey kit, this is the sweet spot. This tier balances professional engineering with DIY sourcing. The core strategy here is simple: buy the specialized high-tech clamps online, but buy the heavy, dumb metal locally.
Direct Clamping to Locally Sourced Steel Pipe
The secret to the cheapest ground mount solar racking system that still looks professional lies in separating the components. Most major racking manufacturers design their systems to work with standard Schedule 40 or Schedule 80 steel pipe.
Instead of paying a solar distributor to ship you 20-foot lengths of steel pipe (which incurs massive freight charges), you simply buy the pipe from a local metal yard or fencing supplier. You then use specialized clamps—often called \”pipe-to-rail\” or \”pipe-to-panel\” connectors—to attach the solar modules directly to this structure.
Why this works:
- Availability: Schedule 40 pipe is available almost everywhere globally.
- No Welding: These systems bolt together using standard tools.
- Strength: You get the structural integrity of steel without the custom engineering headache.
Cost-Saving Benefits of Brands like IronRidge and Unirac
While I always advocate for saving money, sometimes buying a branded component is actually cheaper in the long run because it saves labor and prevents failure. Brands like IronRidge (specifically their XR1000 or similar rail systems adapted for ground mounts) and Unirac have perfected the \”top-down\” clamping mechanism.
By using their engineered clamps and rail adapters, you ensure your warranty remains valid. Many panel manufacturers will void warranties if you use non-standard mounting methods. These systems allow you to build a galvanized steel substructure (cheap) and top it with aluminum rails and stainless steel clamps (reliable).
| Component | Source | Cost Impact |
|---|---|---|
| Vertical Pipes | Local Metal Yard | Low ($$) |
| Horizontal Cross-Pipes | Local Metal Yard | Low ($$) |
| Rail/Clamps | Online Solar Distributor | Medium ($$$) |
| Concrete/Foundation | Local Hardware Store | Low ($$) |
Reducing Shipping Weight by Sourcing Locally
The biggest killer of ROI in solar projects isn\’t the panels; it\’s the logistics. Shipping 2,000 lbs of steel racking across the country can cost as much as the steel itself.
By utilizing a universal clamp system, you are only shipping the lightweight aluminum components and small hardware boxes. The heavy structural elements are sourced within driving distance of your installation site. This approach drastically cuts down on freight costs, making it a top contender for the cheapest ground mount solar racking system available today. Once you have saved on these structural costs, you might consider reinvesting those funds into a bulk energy storage system to maximize the utility of the power you generate.
Tier 3: Pre-Fabricated Budget Kits
If you aren\’t interested in sourcing raw steel pipe or cutting lumber, pre-fabricated kits are often the most practical route to the cheapest ground mount solar racking system that still looks professional. These systems typically utilize aluminum A-frame structures that are pre-drilled and engineered to snap or bolt together quickly. Unlike the DIY pipe method, you don\’t need to be a fabrication expert; it is essentially the \”flat-pack furniture\” approach to solar infrastructure.
Low-Cost Imported Aluminum Structures
Many of these budget kits are imported, utilizing anodized aluminum rails and legs. This material choice offers a significant advantage over galvanized steel in terms of weight and ease of handling.
- Corrosion Resistance: Aluminum naturally resists rust without needing heavy galvanization.
- Ease of Assembly: One person can often lift and position the main beams, whereas steel usually requires two people or machinery.
- Integrated Hardware: Most kits come with the specific solar panel mounting brackets and grounding clips included, saving you trips to the hardware store.
The Hidden Costs of Freight Shipping
While the sticker price on these off-grid solar mounting kits can be incredibly low, the logistics can kill your budget. The primary issue is the length of the rails.
- Oversized Freight: Shipping 10-foot or 12-foot rails often triggers \”oversized\” freight charges that can cost as much as the racking itself.
- The Workaround: To keep this truly cheap, look for kits that use spliced rails (shorter sections joined together) or systems that allow you to source the long rails locally while shipping only the clamps and legs.
Best Value for Time-Sensitive Installations
If your time is worth money, these kits often beat the raw material approach. You are paying a slight premium for engineering convenience, but you save days of labor. There is no cutting, no drilling into thick steel pipe, and no guesswork regarding structural alignment. Once the frame is bolted down, you are ready to mount panels and connect your grid-tie solar inverter immediately. For projects where you need the array operational in a single weekend, a pre-fab aluminum kit provides the best balance of speed and cost.
Top Strategies to Slash Solar Racking Costs
Finding the cheapest ground mount solar racking system isn\’t just about picking the lowest sticker price on a website; it\’s about smart procurement and strategic design choices. I\’ve seen projects go over budget simply because the installer bought everything as a pre-packaged kit rather than sourcing components intelligently. Here is how you can significantly reduce your overhead without compromising structural integrity.
Buying Steel Tubing from Local Metal Yards
One of the biggest hidden costs in solar racking is shipping heavy steel pipes. When you buy a complete kit online, you are paying a premium for the convenience of having standard lengths of pipe shipped to your door. Instead, you should source your Schedule 40 or Schedule 80 steel pipe from local metal yards or industrial plumbing suppliers.
Local suppliers often sell the exact same galvanized steel tubing used in high-end racking systems for a fraction of the cost because you aren\’t paying for cross-country freight. By purchasing the clamps and rail attachments online but getting the heavy structural pipe locally, you can cut your total hardware costs by 30-40%. This approach works perfectly with universal clamp systems that are designed to fit standard pipe diameters.
Standardizing Panel Layout to Minimize Rail Usage
The geometry of your array directly impacts your wallet. A common mistake is designing irregular array shapes or long, single rows that require excessive railing and splicing hardware. To keep costs down, you want to minimize the total length of rail and the number of footings required.
- Portrait vs. Landscape: Orienting panels in landscape mode often requires more horizontal rail length per watt compared to portrait orientation.
- Block Configurations: Building a \”2-up\” or \”3-up\” (two or three panels high) configuration is usually more cost-effective than a single long row. It concentrates the structural load on fewer foundations and reduces the amount of steel pipe needed per panel.
Manual Installation vs. Machine Rental Expenses
Labor and equipment are major variables in the cost per watt of solar racking. If you are installing a massive array requiring driven piles, renting a hydraulic pile driver is unavoidable. However, for smaller residential or light commercial systems, you can save hundreds of dollars by opting for manual installation methods.
Using ground screws that can be installed with a handheld torque multiplier or digging concrete footings by hand (or with a small, rented auger) eliminates the need for expensive heavy machinery delivery fees. While it requires more sweat equity, avoiding the rental of a skid steer or excavator is a straightforward way to keep cash in your pocket.
Sourcing Clearance and Older Racking Models
Solar technology moves fast, and manufacturers frequently update their product lines. This leaves distributors with \”obsolete\” inventory that is perfectly functional but no longer the latest model. Hunting for clearance sales on older racking models can yield massive savings.
Often, the only difference between an old model and a new one is a slight change in the clamp design or a different rail profile. As long as the system is rated for your local wind and snow loads, these older kits are a steal. Additionally, keep an eye out for leftover components from large commercial jobs; contractors often sell surplus rails and clamps at a discount just to clear their warehouse space. If you are also considering adding storage to your budget build, understanding the cost of batteries for solar panels is crucial to ensure your total system expenditure remains low.
The \”Cheap\” Trap: Critical Features to Never Skip
When hunting for the cheapest ground mount solar racking system, it is easy to get tunnel vision on the upfront price tag. I have seen too many DIYers save a few hundred dollars on materials only to lose thousands later because the structure failed or degraded prematurely. Cutting costs is smart; cutting corners on safety and longevity is a disaster waiting to happen.
Ensuring Proper Corrosion Resistance
If you are building outdoors, rust is your enemy. Standard steel might be cheaper initially, but it will begin to corrode within months if not properly treated. Using untreated steel or cheap paint is a major mistake.
- Galvanized Steel: Always insist on hot-dip galvanized steel. The zinc coating sacrifices itself to protect the structural steel underneath.
- Aluminum: Naturally resistant to corrosion, but ensure it is anodized if you live near saltwater.
- Dissimilar Metals: Never bolt aluminum rails directly to steel pipes without a barrier (like a rubber shim or stainless steel washer). This causes galvanic corrosion, eating away your mounts silently.
Meeting Minimum Wind Load and Safety Ratings
A cheap rack is worthless if it turns into a kite during the first big storm. Solar panels act like giant sails. If your racking isn\’t engineered to handle local wind speeds, you risk losing your entire array and damaging nearby property.
Critical Safety Checks:
- Wind Load Calculation: Verify the racking is rated for the maximum wind gusts in your specific region (e.g., 90 mph vs. 130 mph).
- Snow Load: If you are in a cold climate, the structure must support the heavy weight of wet snow accumulation without buckling.
- Foundation Depth: Skimping on concrete or using shallow ground screws to save money compromises the anchor strength needed to resist uplift forces.
Calculating Tilt Adjustability vs. Real-World Energy Yield
Many budget kits offer fixed-tilt systems to lower manufacturing costs. While adjustable mounts are more expensive, skipping them might actually cost you more in lost energy production over 25 years.
A fixed angle is \”cheap\” today, but an adjustable system allows you to optimize for winter sun when production is lowest and demand is highest. If you are pairing your solar with storage, maximizing that winter yield is crucial for keeping your battery for home energy storage charged during shorter days.
| Feature | The \”Cheap\” Option | The Smart Option | Why It Matters |
|---|---|---|---|
| Material | Painted Black Steel | Hot-Dip Galvanized / Anodized Aluminum | Paint chips and rusts; galvanization lasts decades. |
| Engineering | \”Looks sturdy enough\” | PE Stamped / Rated for 100+ mph | Prevents catastrophic failure during storms. |
| Tilt | Fixed Angle | Seasonal Adjustability | Increases annual output by 5-10%, critical for off-grid. |
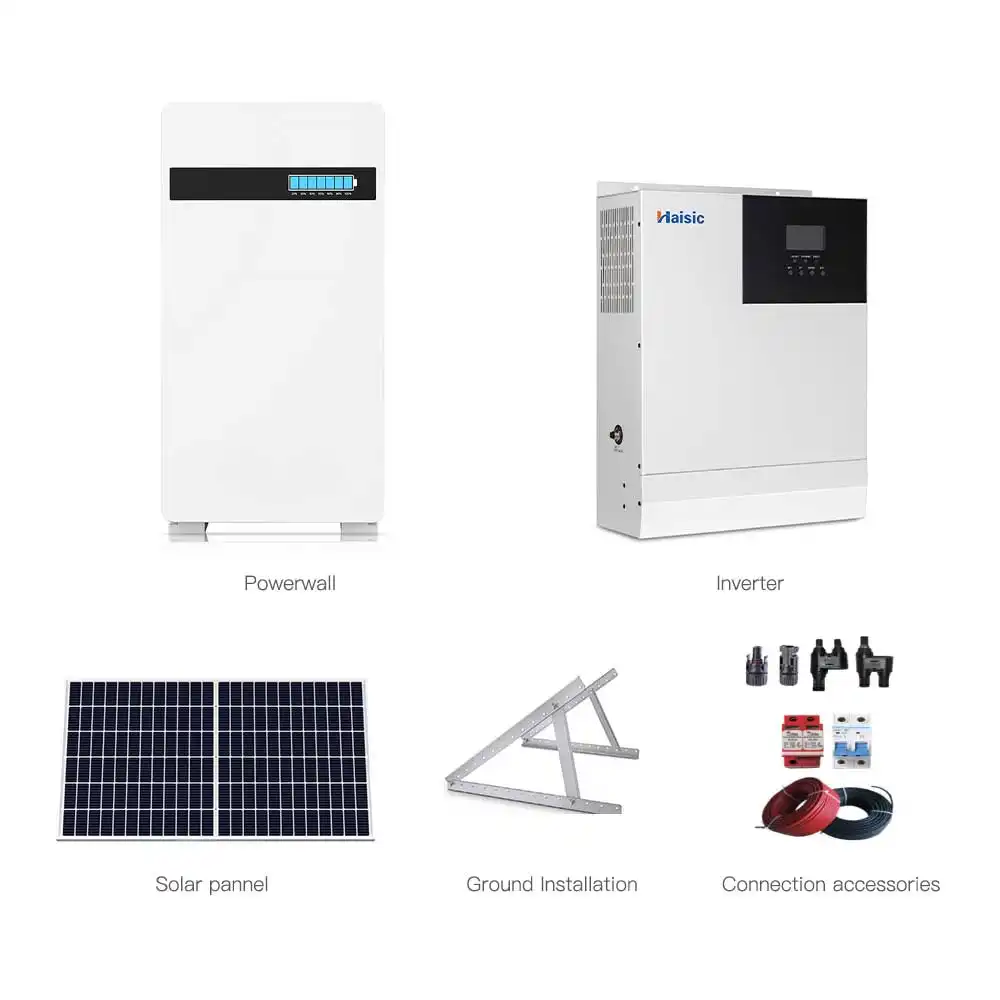
Maximizing Your ROI with Energy Storage
When you successfully navigate the market to find the cheapest ground mount solar racking system, you aren\’t just saving a few dollars on metal pipes and screws; you are unlocking capital that can be deployed where it matters most. The real return on investment (ROI) in a modern solar setup doesn\’t come from the aluminum holding the panels up—it comes from the ability to store and use that energy when the sun isn\’t shining.
Reinvesting Racking Savings into High-Capacity Batteries
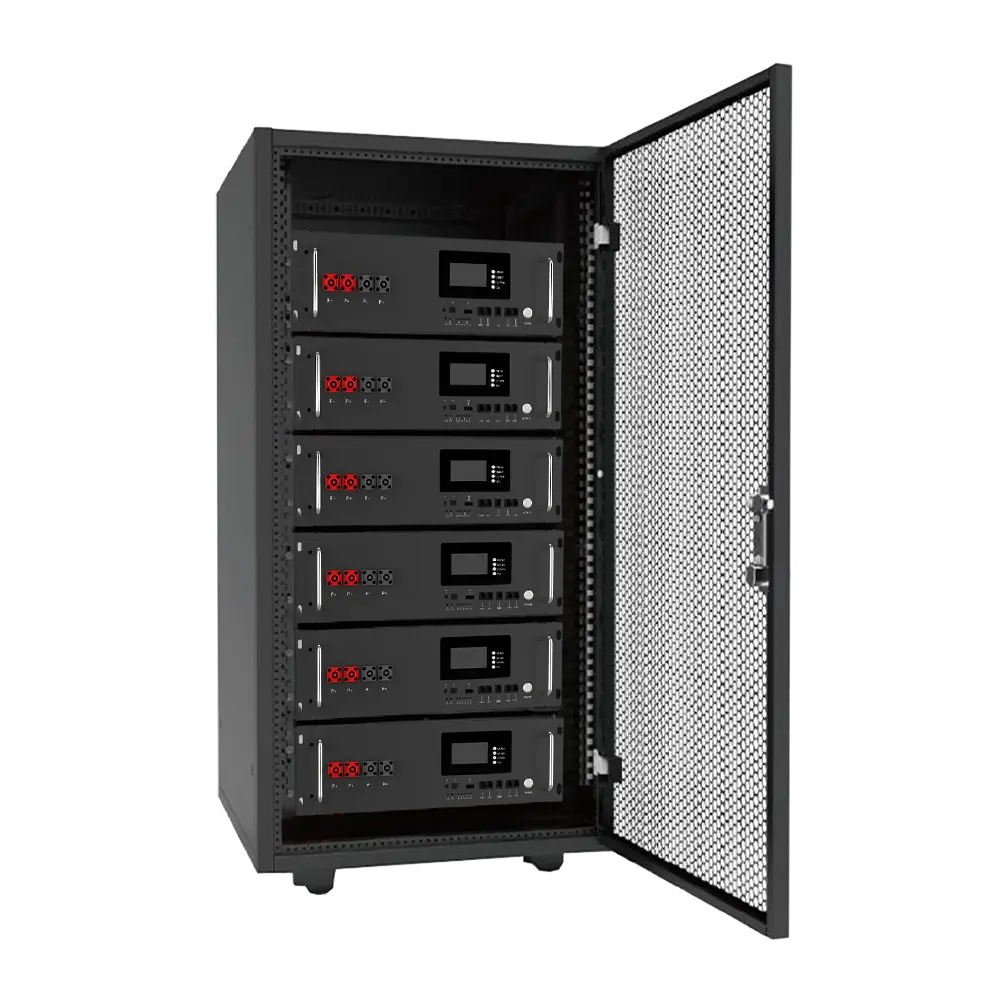
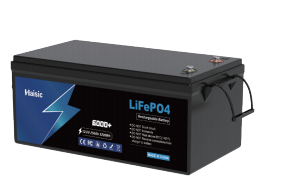
Every dollar saved on structural components is a dollar that can be shifted toward energy independence. If you manage to shave $1,000 or $2,000 off your installation costs by using Schedule 40 pipe and locally sourced materials, that budget can immediately upgrade your system\’s brain and muscle. Instead of overpaying for branded rails, you can invest in a 25.6V battery with 305Ah capacity to ensure your home keeps running after sunset.
This reallocation of funds transforms a simple grid-tie system into a resilient power station. High-capacity lithium batteries offer a far better long-term value proposition than premium racking aesthetics because they directly offset peak-hour electricity rates and provide security during grid failures.
How Storage Completes a Budget Ground Mount System
A budget ground mount system without storage is often just an expense that lowers your electric bill slightly. Adding storage turns it into an asset. Because ground mounts are often installed in rural or semi-rural areas where grid reliability can be spotty, pairing your cost-effective structure with a robust home power storage system is the logical next step.
Why storage maximizes the value of cheap racking:
- Self-Consumption: You capture the excess energy your large ground array produces during the day instead of selling it back to the utility for pennies.
- Grid Independence: Cheap racking allows for larger arrays (more panels for the same price), which charges batteries faster, even on cloudy days.
- Backup Power: The money saved on concrete and steel buys you the peace of mind that comes with a reliable backup supply.
By focusing on functional, low-cost mounting, you prioritize the electrical performance of the system over its architectural appearance, ensuring your money goes toward actual energy production and retention.
FAQ: Budget-Friendly Ground Mount Solar Racking
When you are hunting for the cheapest ground mount solar racking system, a lot of questions pop up about safety, materials, and long-term risks. Here are the honest answers based on years of seeing what works and what fails in the field.
Is wood a safe material for solar mounts?
Wood is tempting because it is cheap and easy to work with, but it is rarely the best long-term choice. While pressure-treated lumber can last for decades in a deck, a solar array puts constant, specific stress on the structure. Wood warps, twists, and shrinks over time. This movement can stress the solar panel frames and even cause micro-cracks in the glass cells. If you must use wood to keep costs down, treat it strictly as the substructure (the posts and beams) and always transition to metal rails for the actual panel attachment points.
Can I build a ground mount using Unistrut?
Technically, yes, but proceed with caution. Unistrut (or generic strut channel) is fantastic for electrical conduit, but it isn\’t always engineered for the wind loads a large solar sail creates.
- The Problem: Standard steel strut can rust quickly if it isn\’t hot-dipped galvanized, and aluminum strut is often more expensive than purpose-built solar rail.
- The Verdict: It works for small, sheltered arrays, but for a full home system, the cost savings are often negligible compared to the structural risk.
How much can I save by building my own rack?
The savings can be massive. A turnkey, professionally installed ground mount often costs between $0.50 to $1.00 per watt just for the racking and installation labor. By sourcing your own Schedule 40 steel pipe locally and buying a rail-less clamp kit, you can often drop that cost to around $0.15 to $0.25 per watt. On a large 10kW system, that is thousands of dollars back in your pocket—money that could be better spent on a 12kW solar system with battery storage to maximize your energy independence.
Does DIY racking impact panel warranties?
This is the \”gotcha\” moment for many DIYers. Most major solar panel manufacturers require that their panels be mounted according to specific guidelines to maintain the warranty. This usually means clamping them at specific zones on the frame. If your homemade wooden rack or custom steel job causes the panel to flex too much or clamps it in the wrong spot, the manufacturer can void your warranty. Always read the installation manual for your specific panels before designing your custom rack.